Server OS Update
Januar 5, 2025 Lesezeit: ~1 Minute
Es war mal wieder an der Zeit, diesem Server, ein Update des OS zu spendieren. Für die Leser hier, dieser Blog läuft unter FreeBSD. Ein sehr schönes stabiles UNIX. Es wurde ein Minor Release Wechsel, ohne große Probleme durchgeführt.
Während ich das Update durchgeführt habe, mußte das System neu gestartet werden, d.h. kurzzeitig waren diese Seiten nicht erreichbar.
Ein Update der Blogsoftware steht auch noch auf meiner ToDo Liste, hat aber noch Zeit ;-).
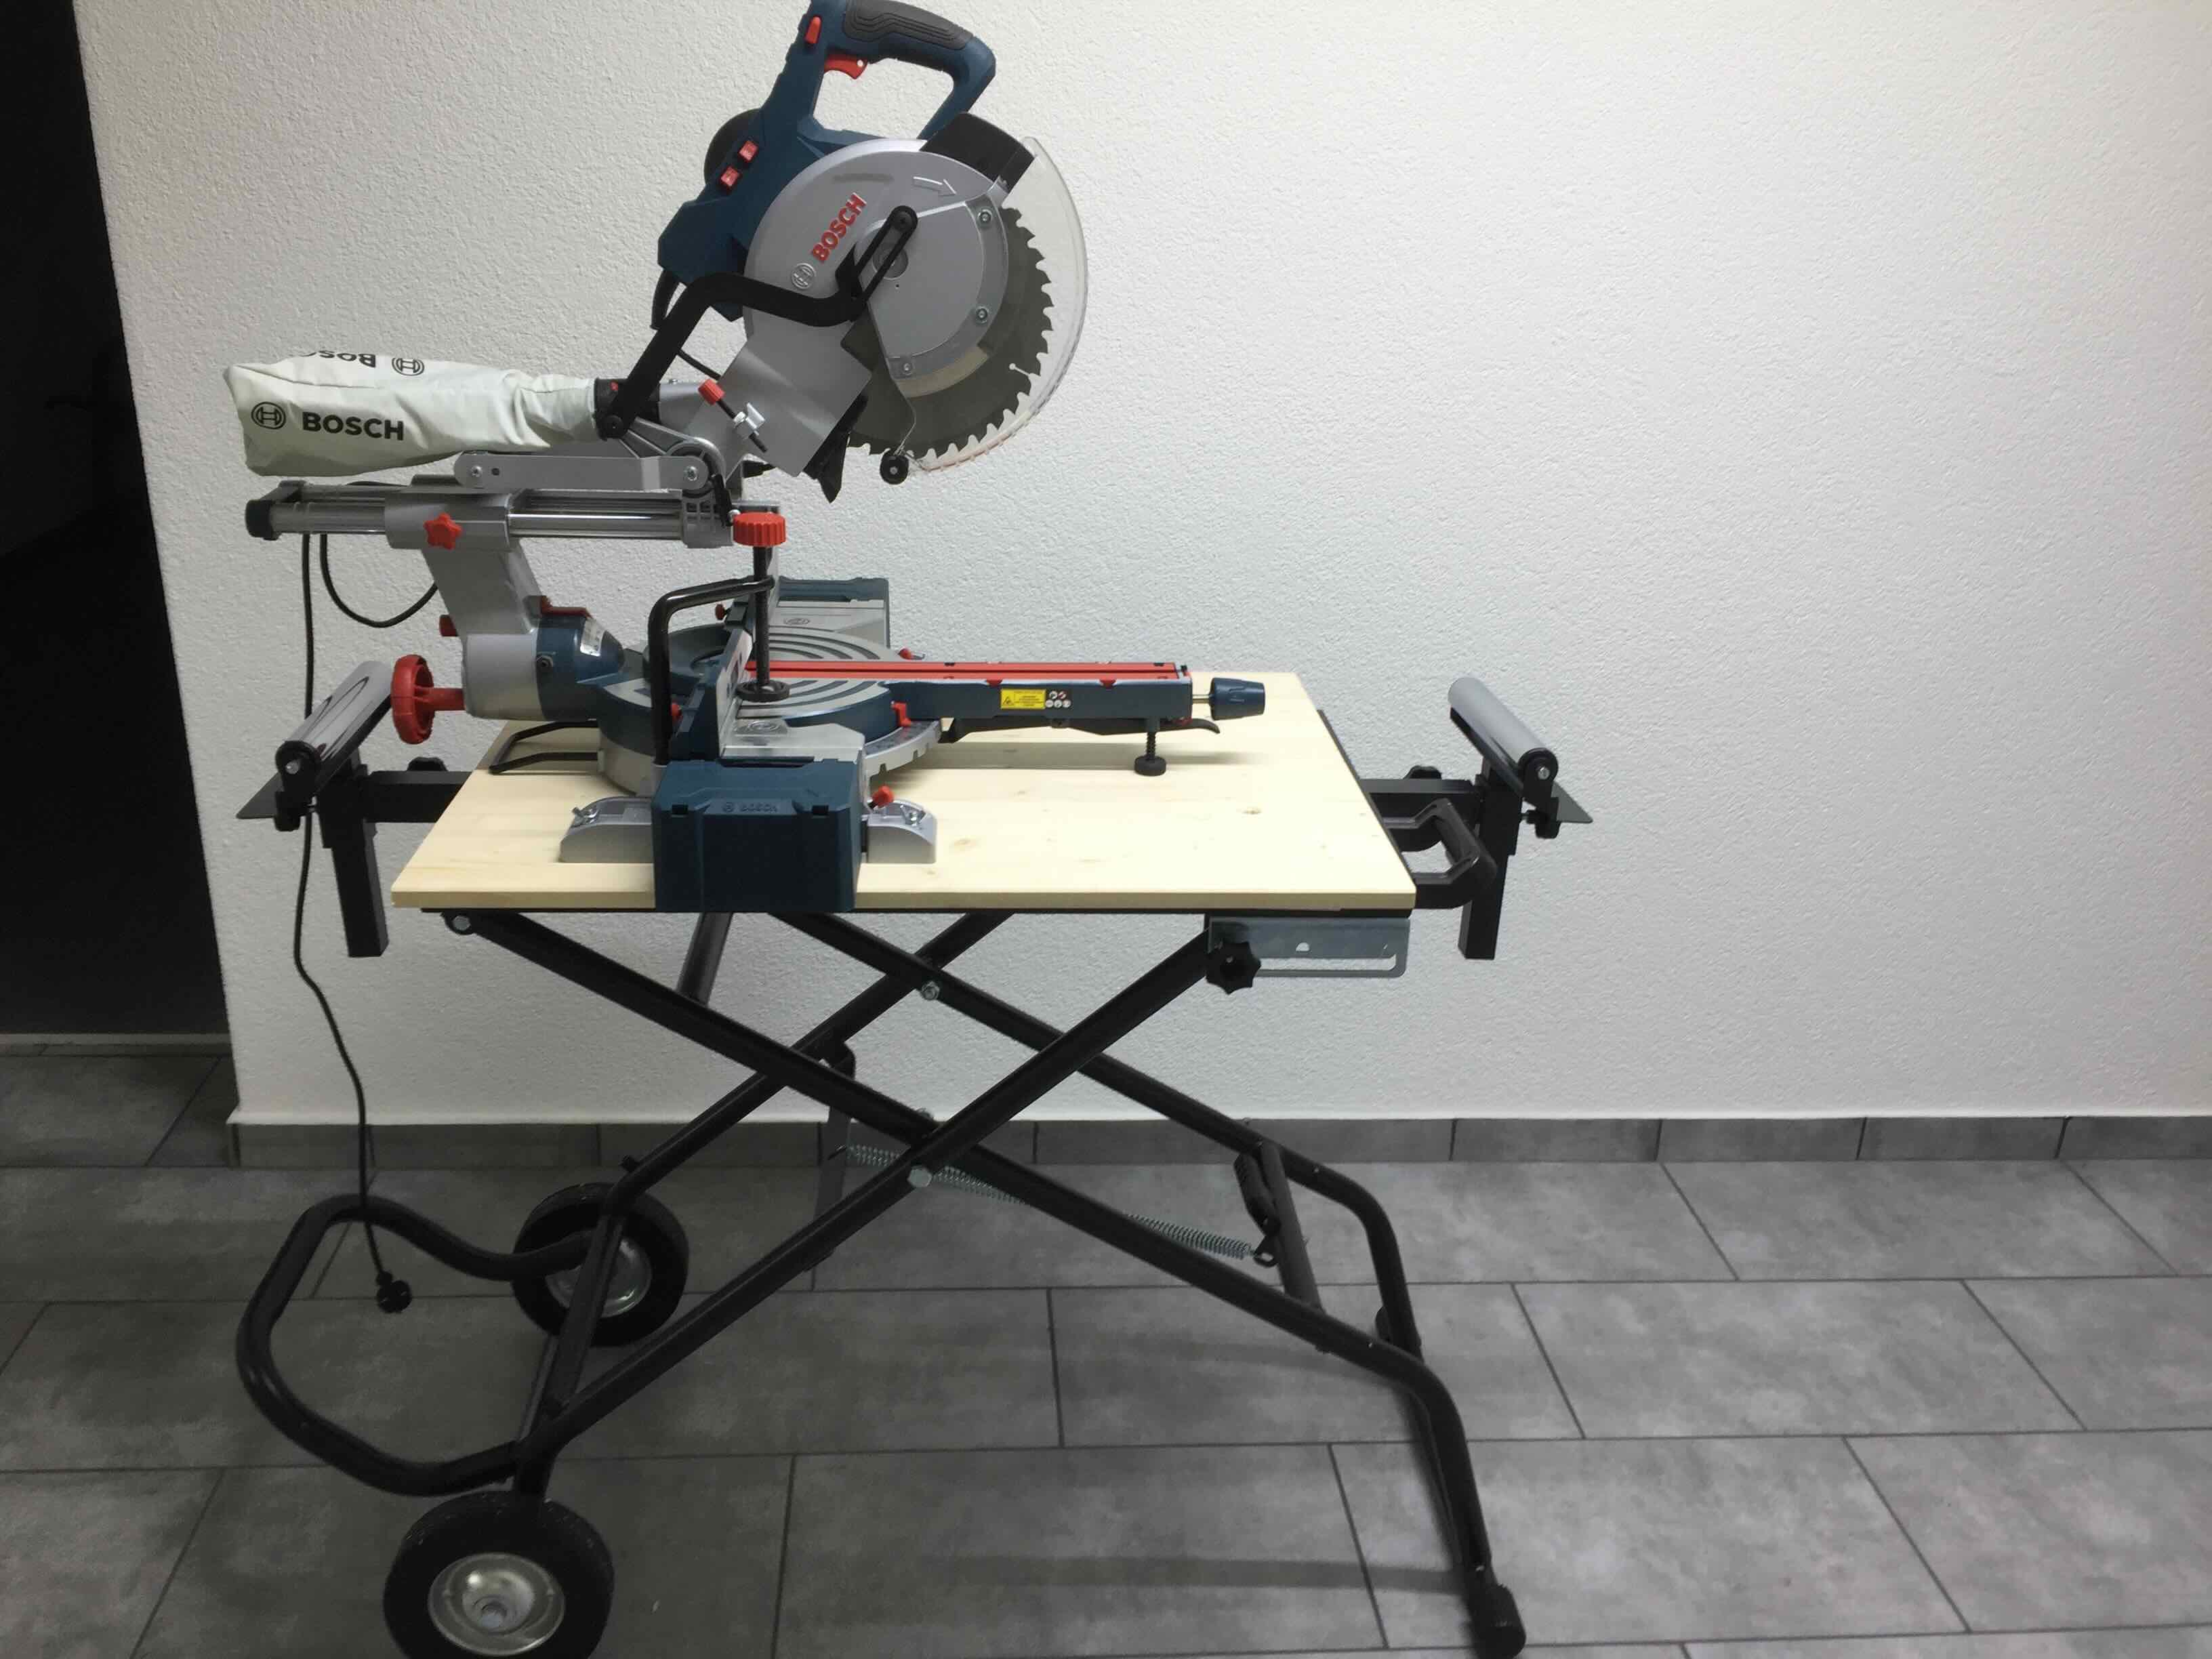
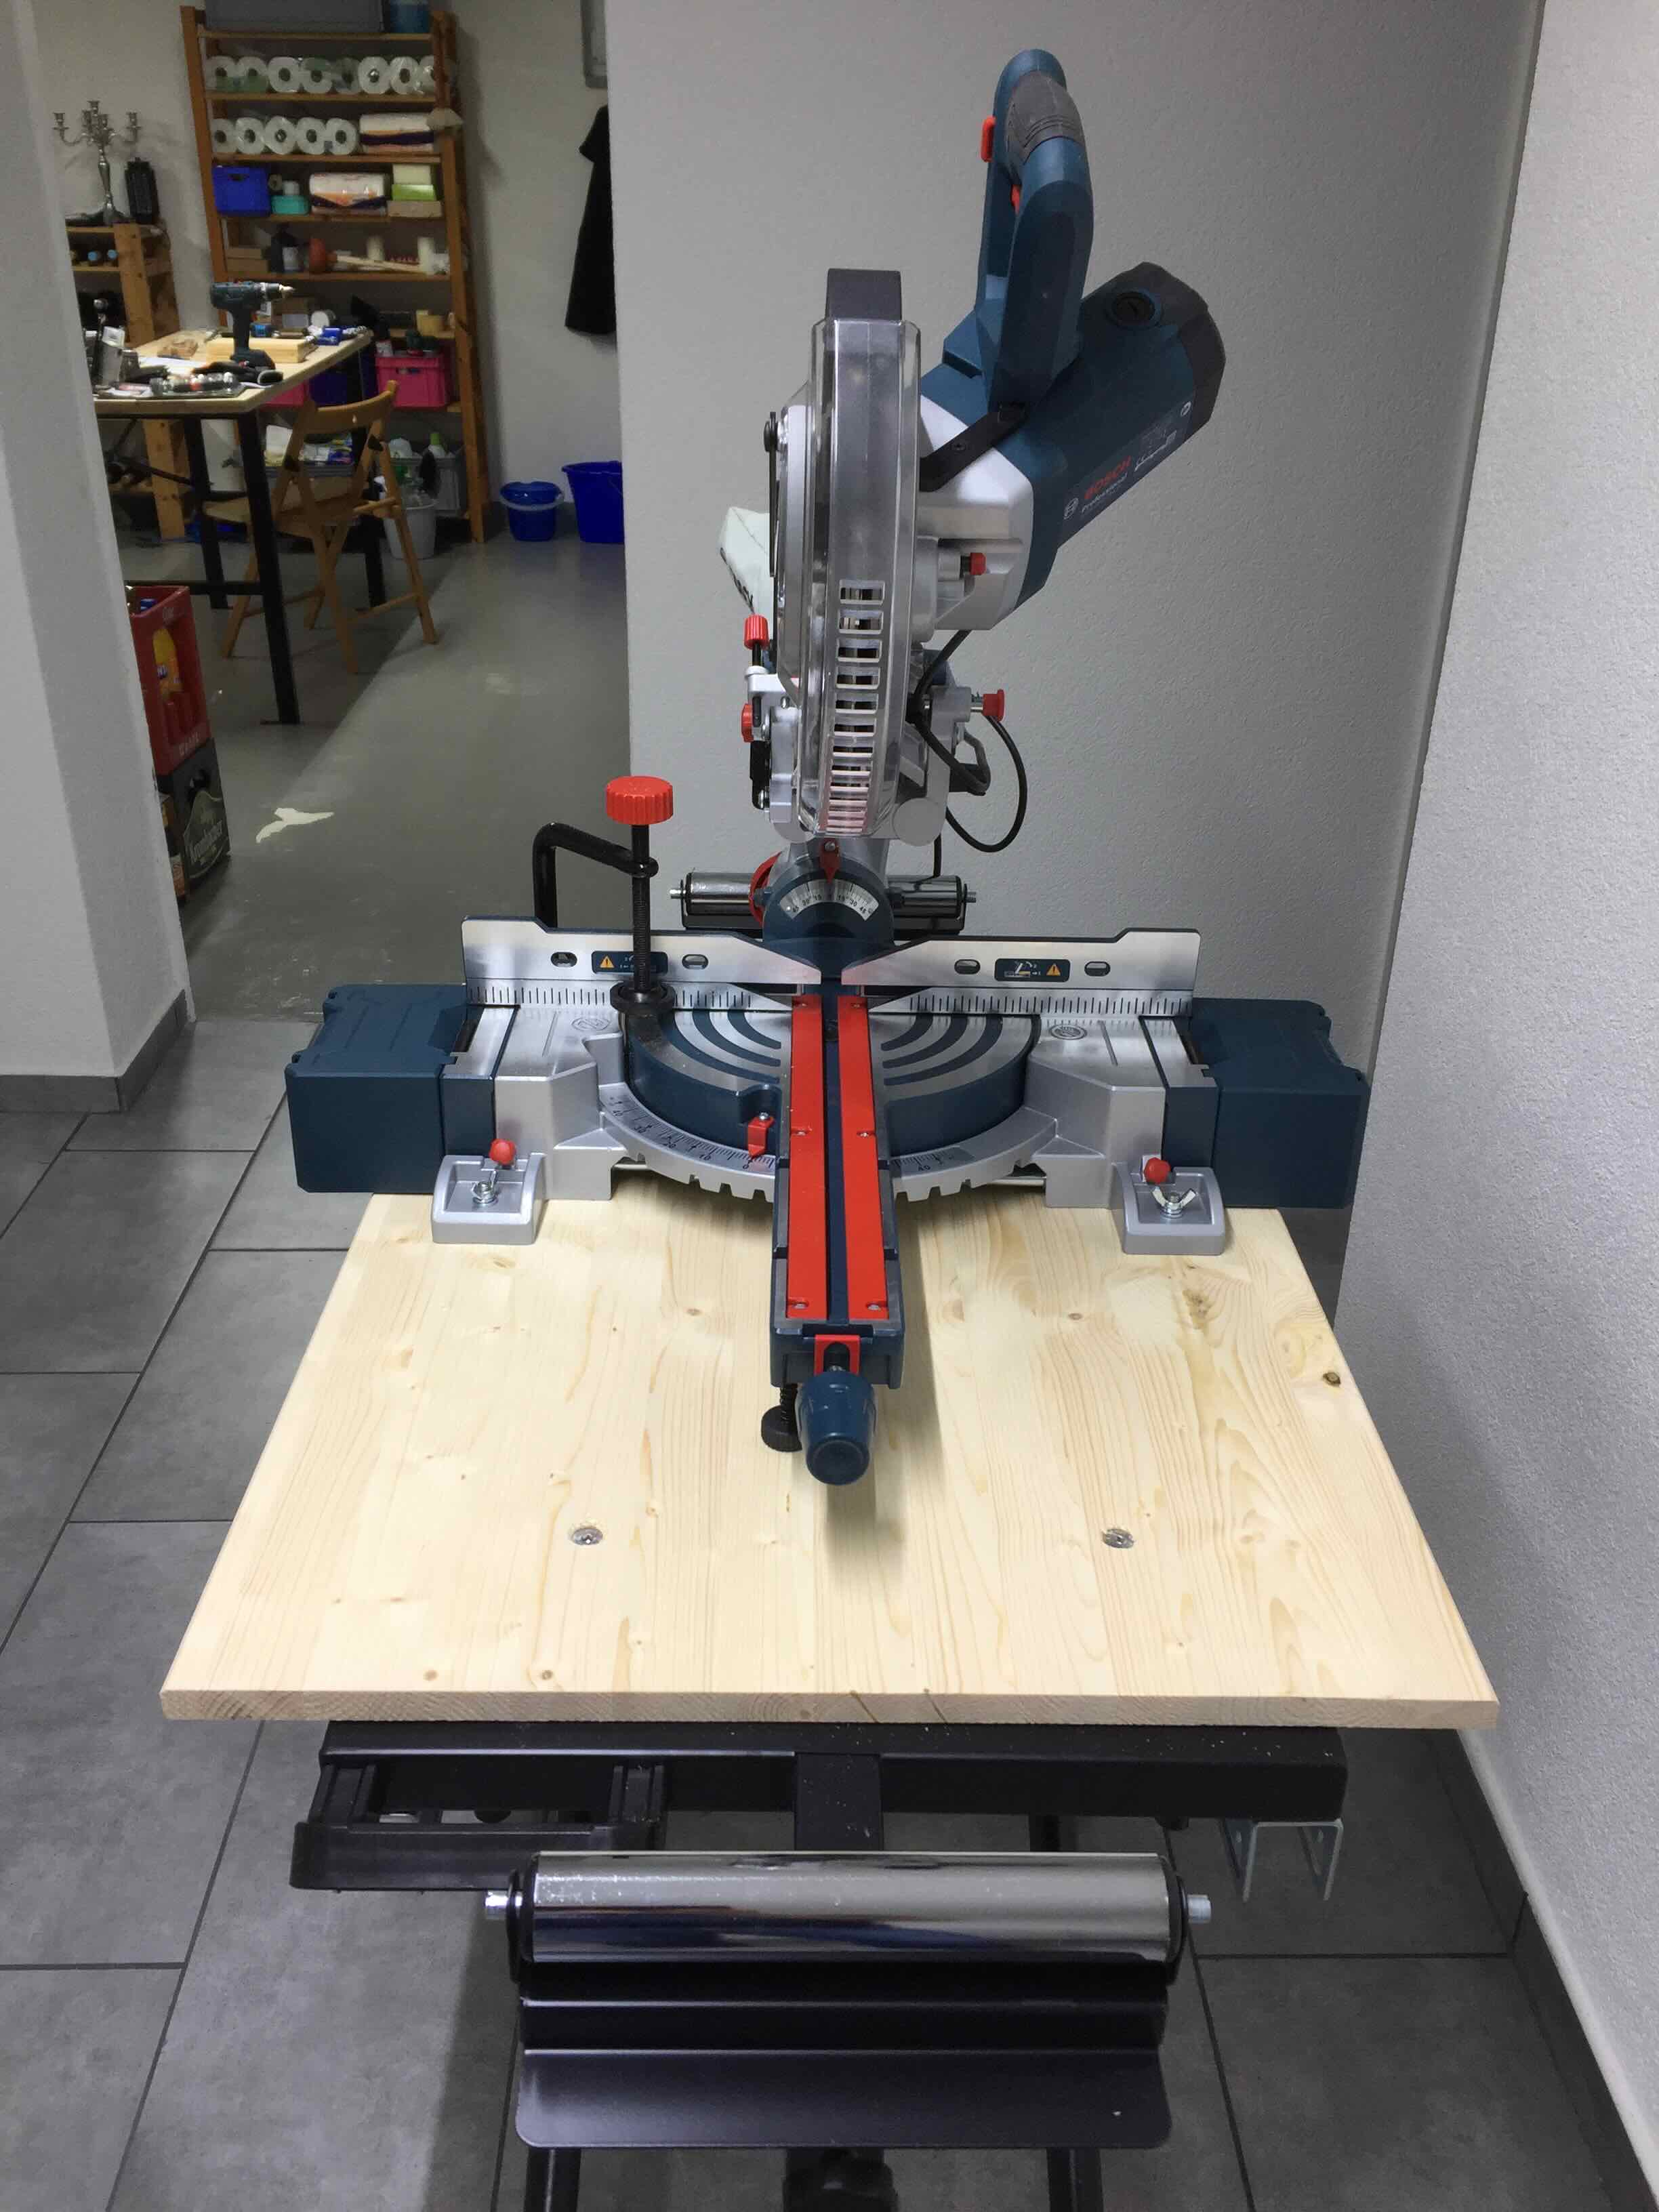
Arbeitstisch für Kappsäge
Juli 31, 2024 Lesezeit: ~1 Minute
Ich habe von meiner Frau eine Kappsäge geschenkt bekommen. Ein wirklich tolles Werkzeug. Da ich in unserem Kellerraum damit nicht sägen möchte, die Holzstaubentwicklung ist doch enorm, habe ich mir einen Mobilen-Arbeitstisch besorgt und diesen ein wenig modifiziert (das Holzbrett unter der Säge für eine bessere Auflagefläche).
Nun kann ich den Tisch mit der Säge in den Aussenbereich fahren.
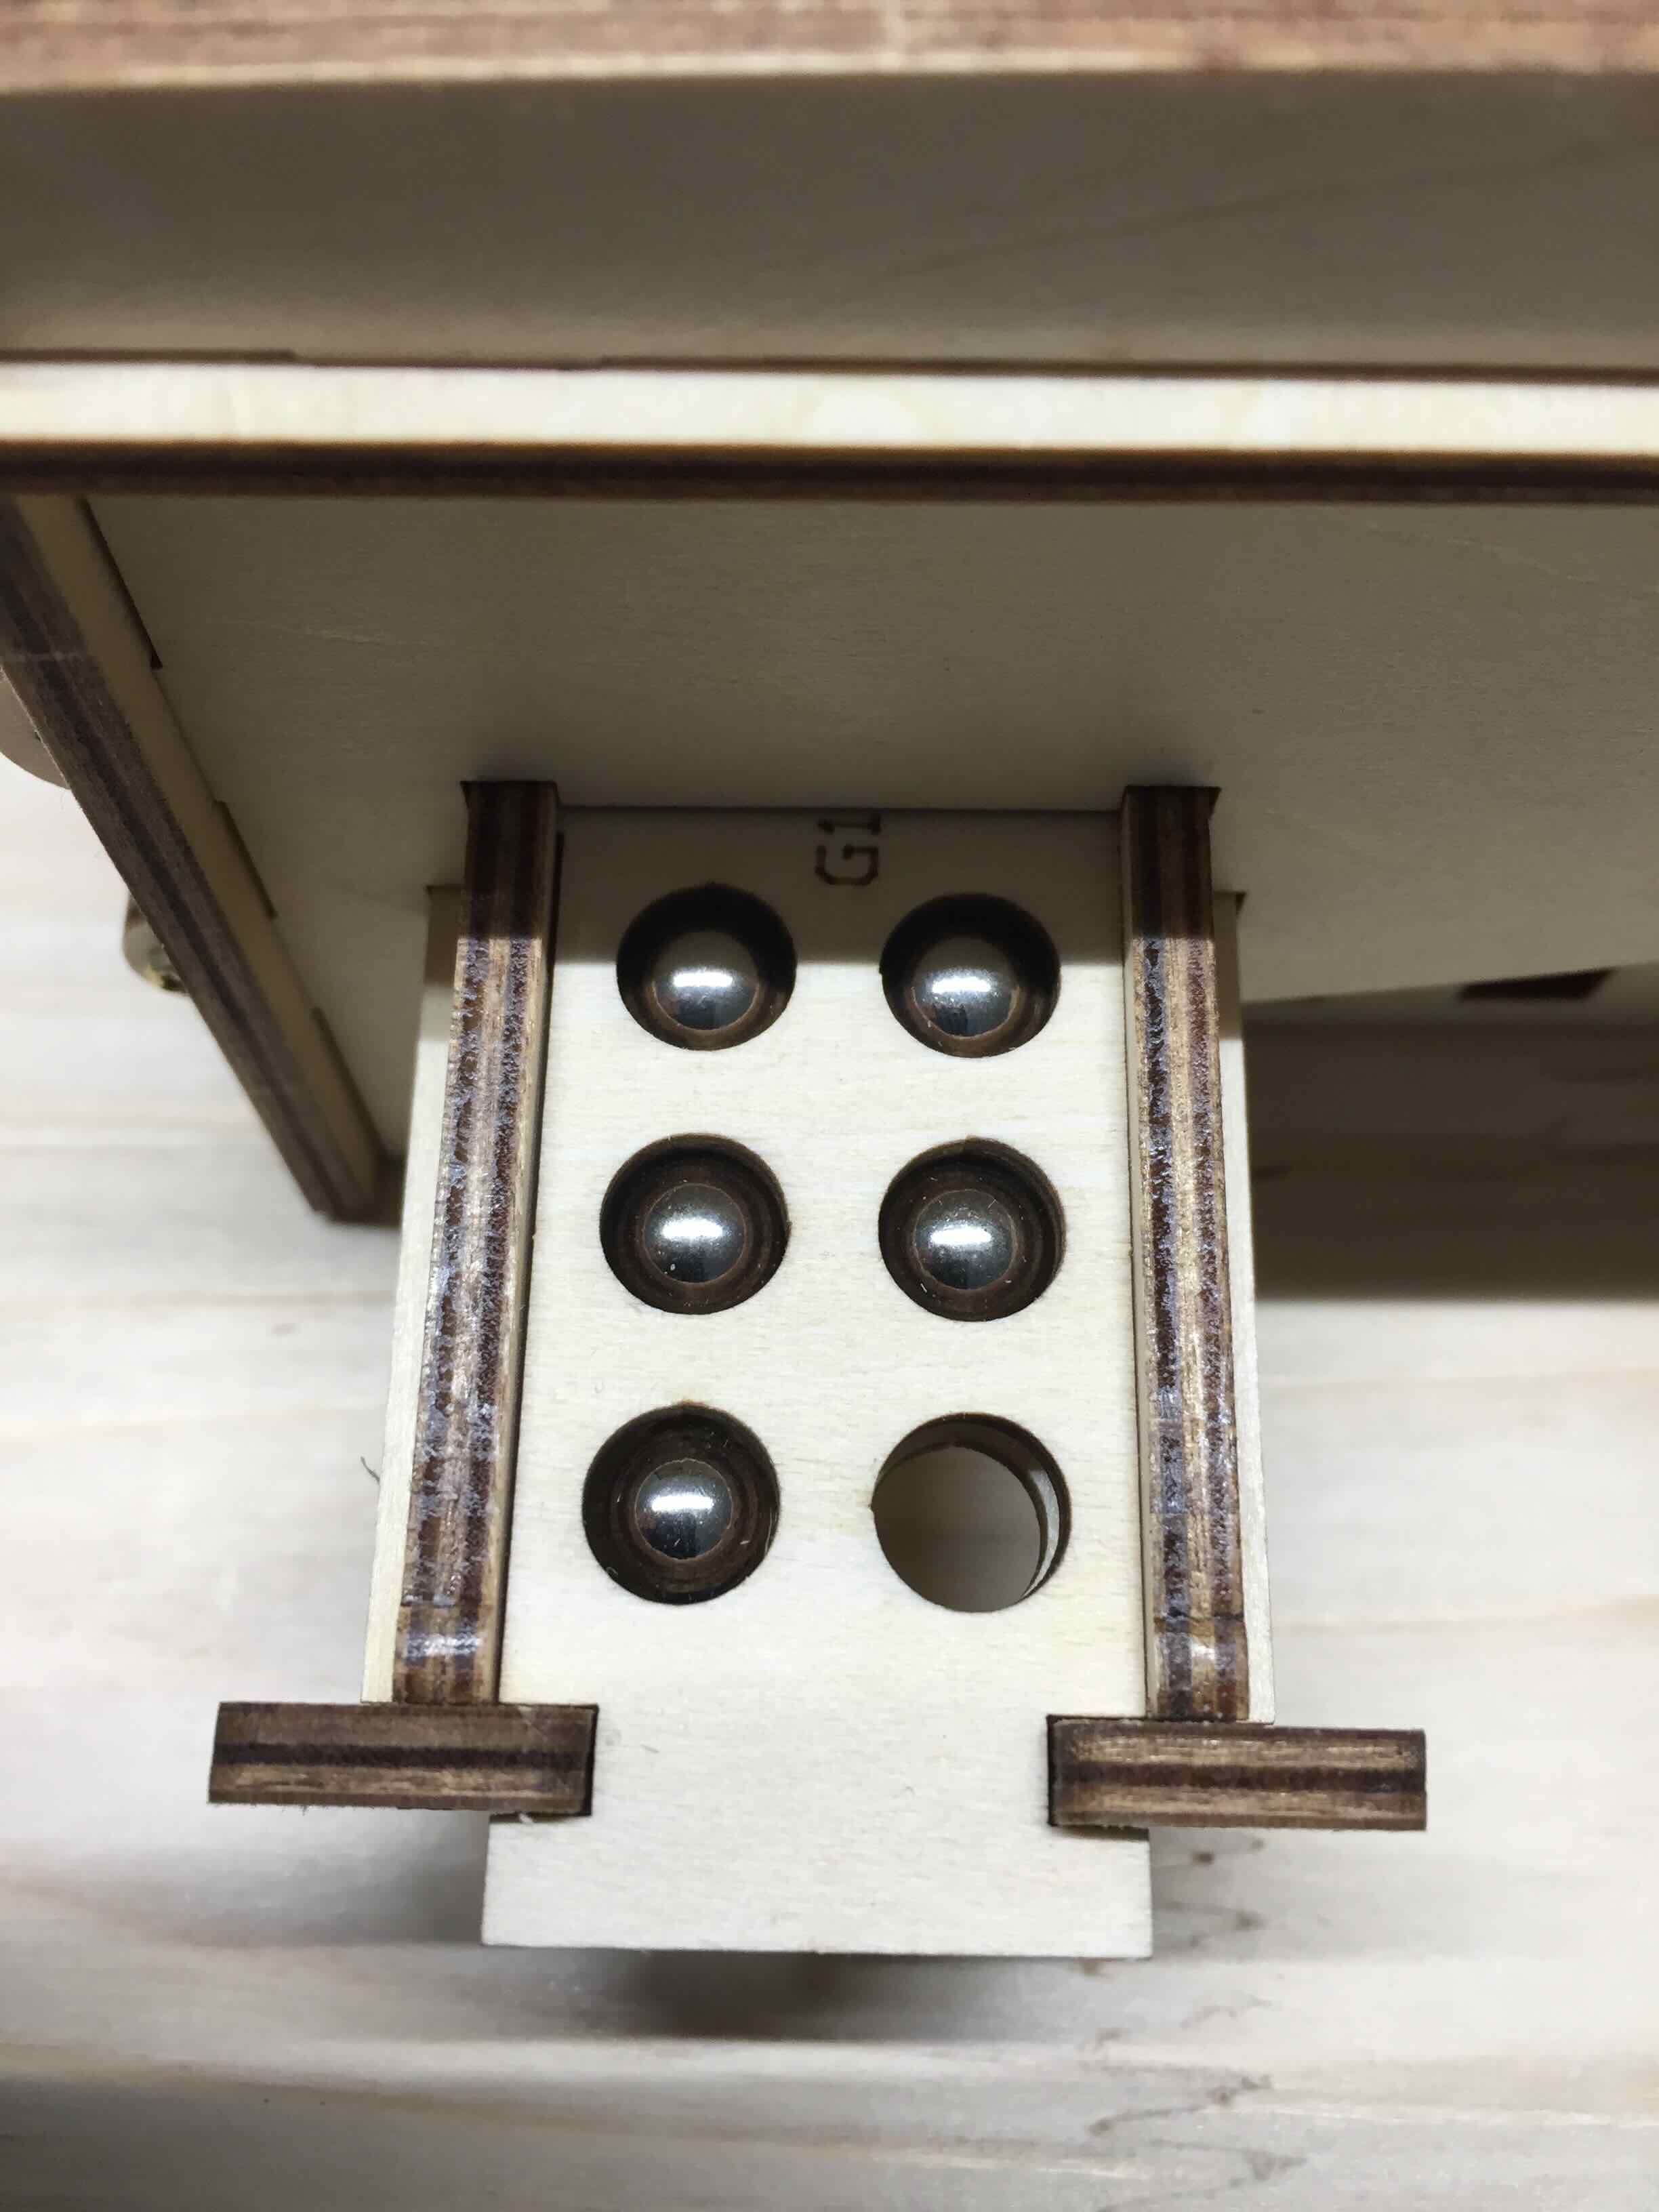
Retro Flipper als Bausatz
Juni 11, 2024 Lesezeit: ~1 Minute
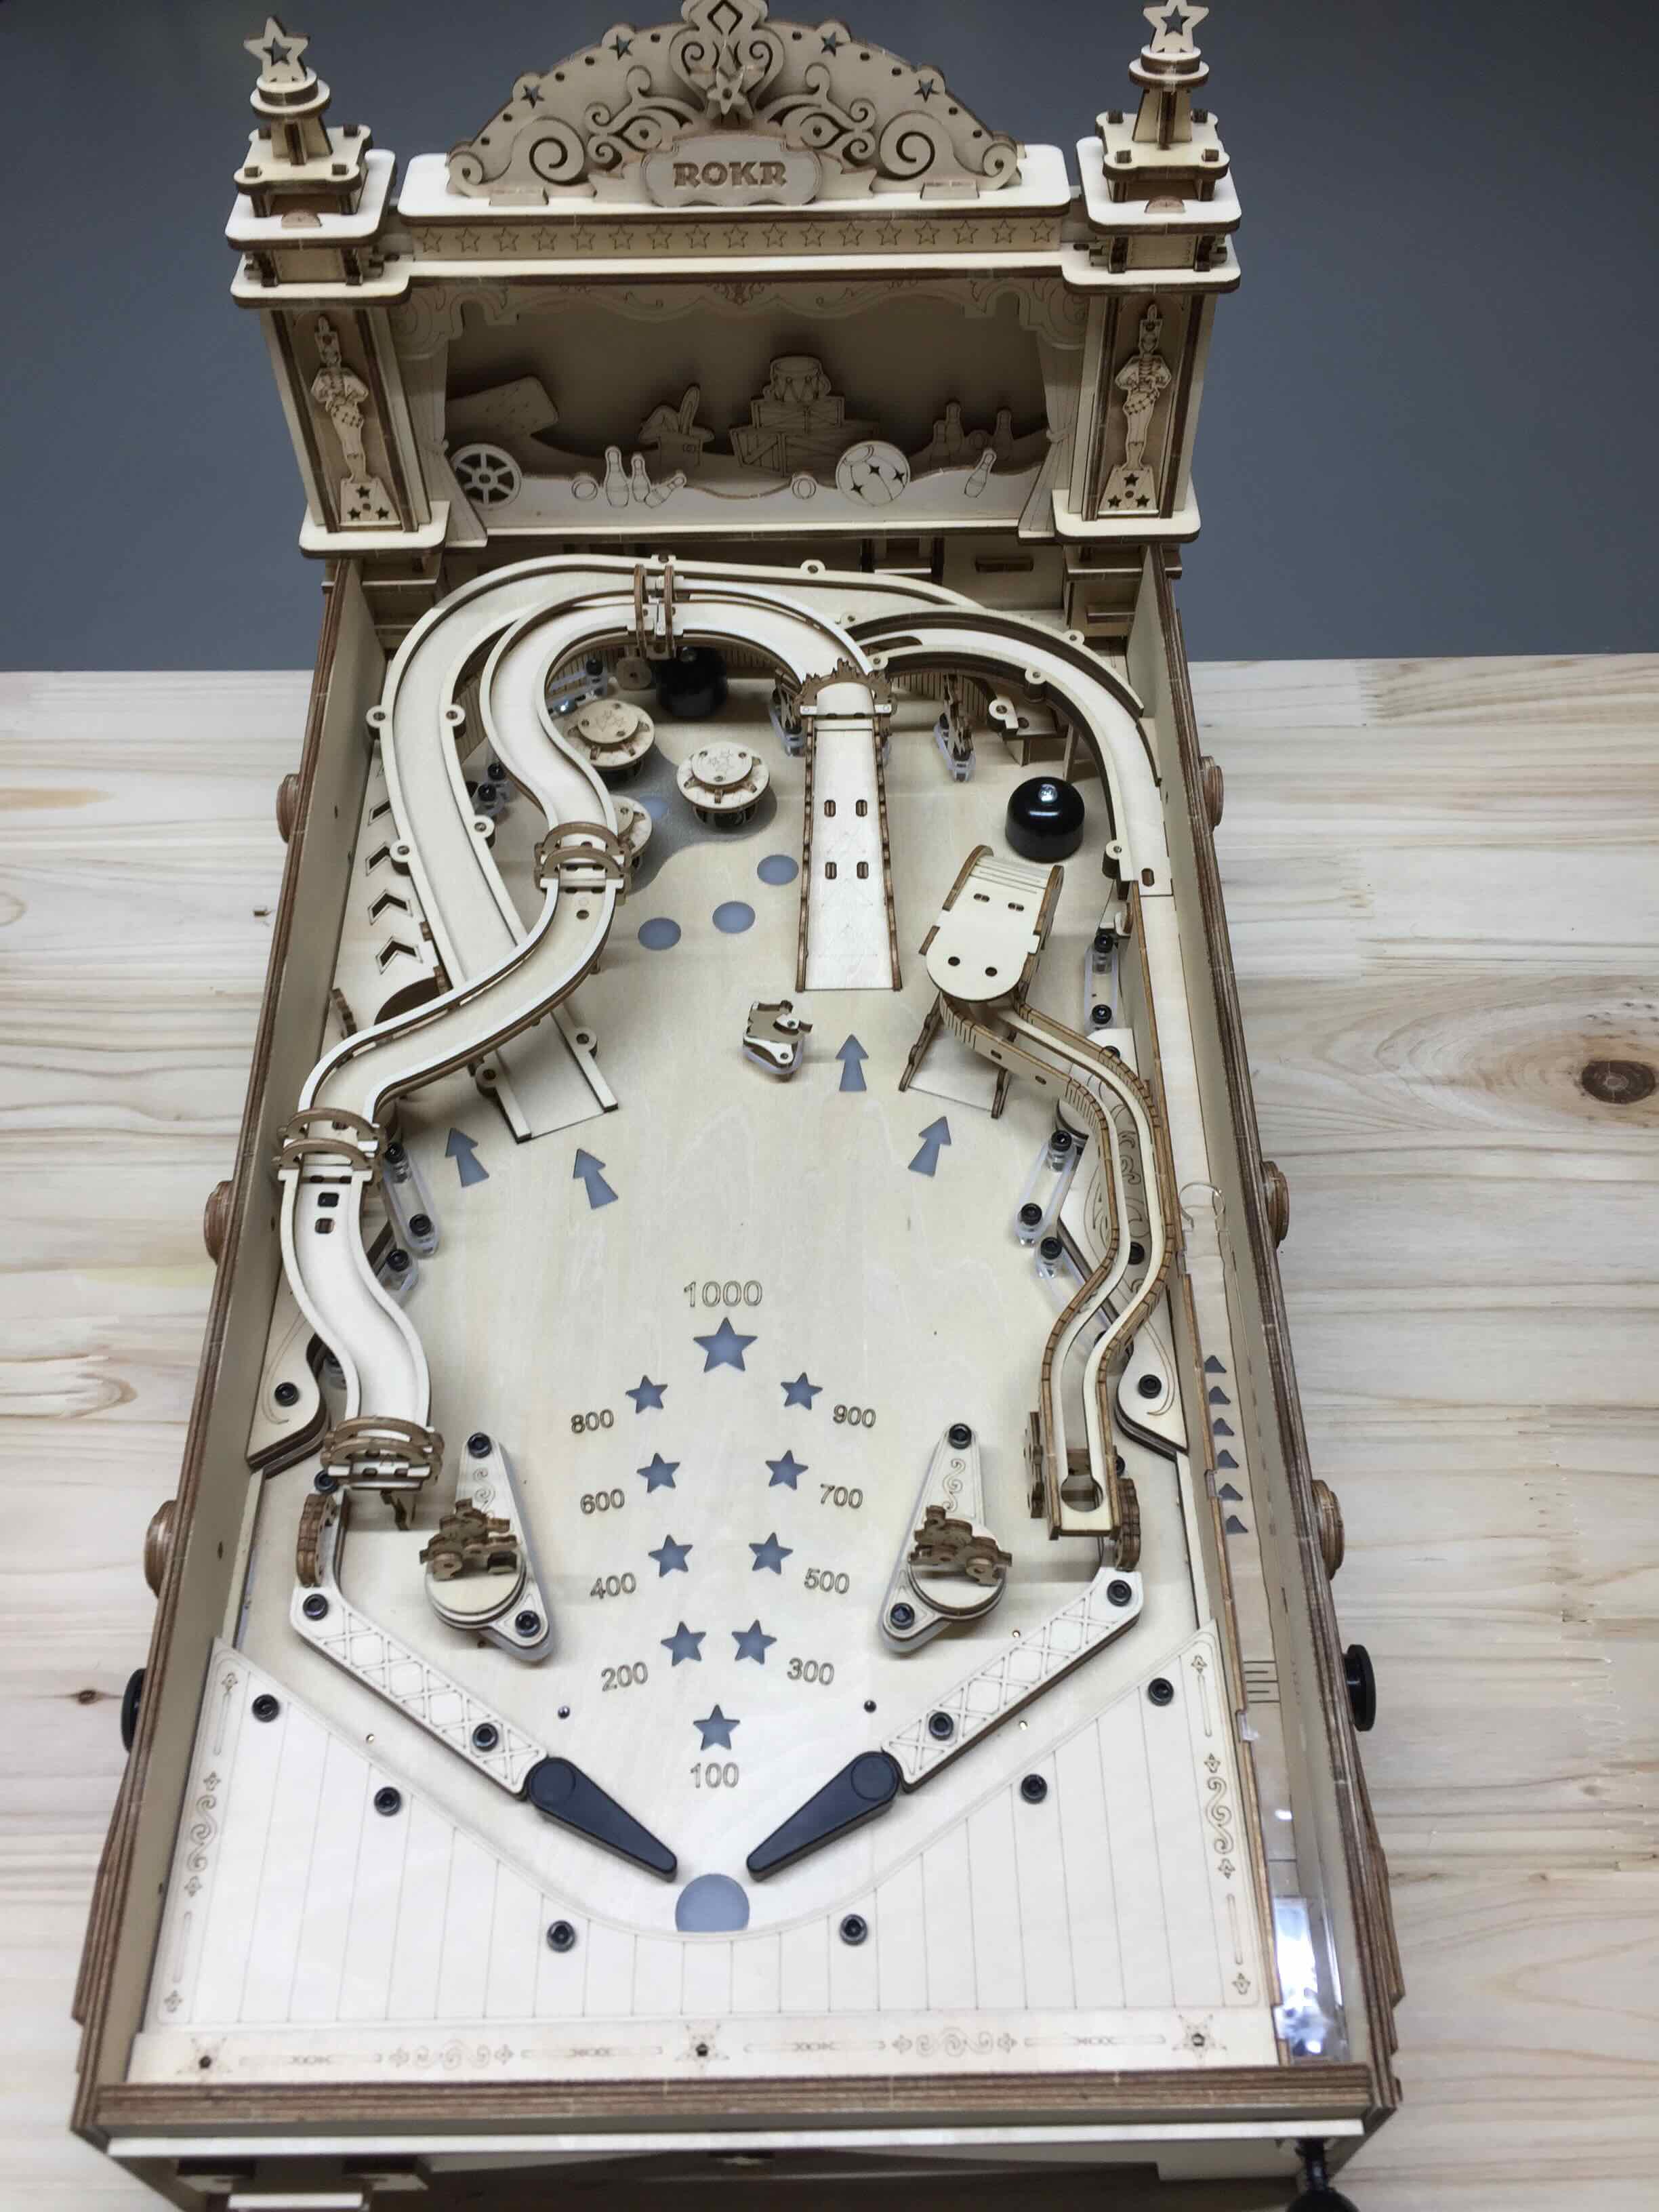
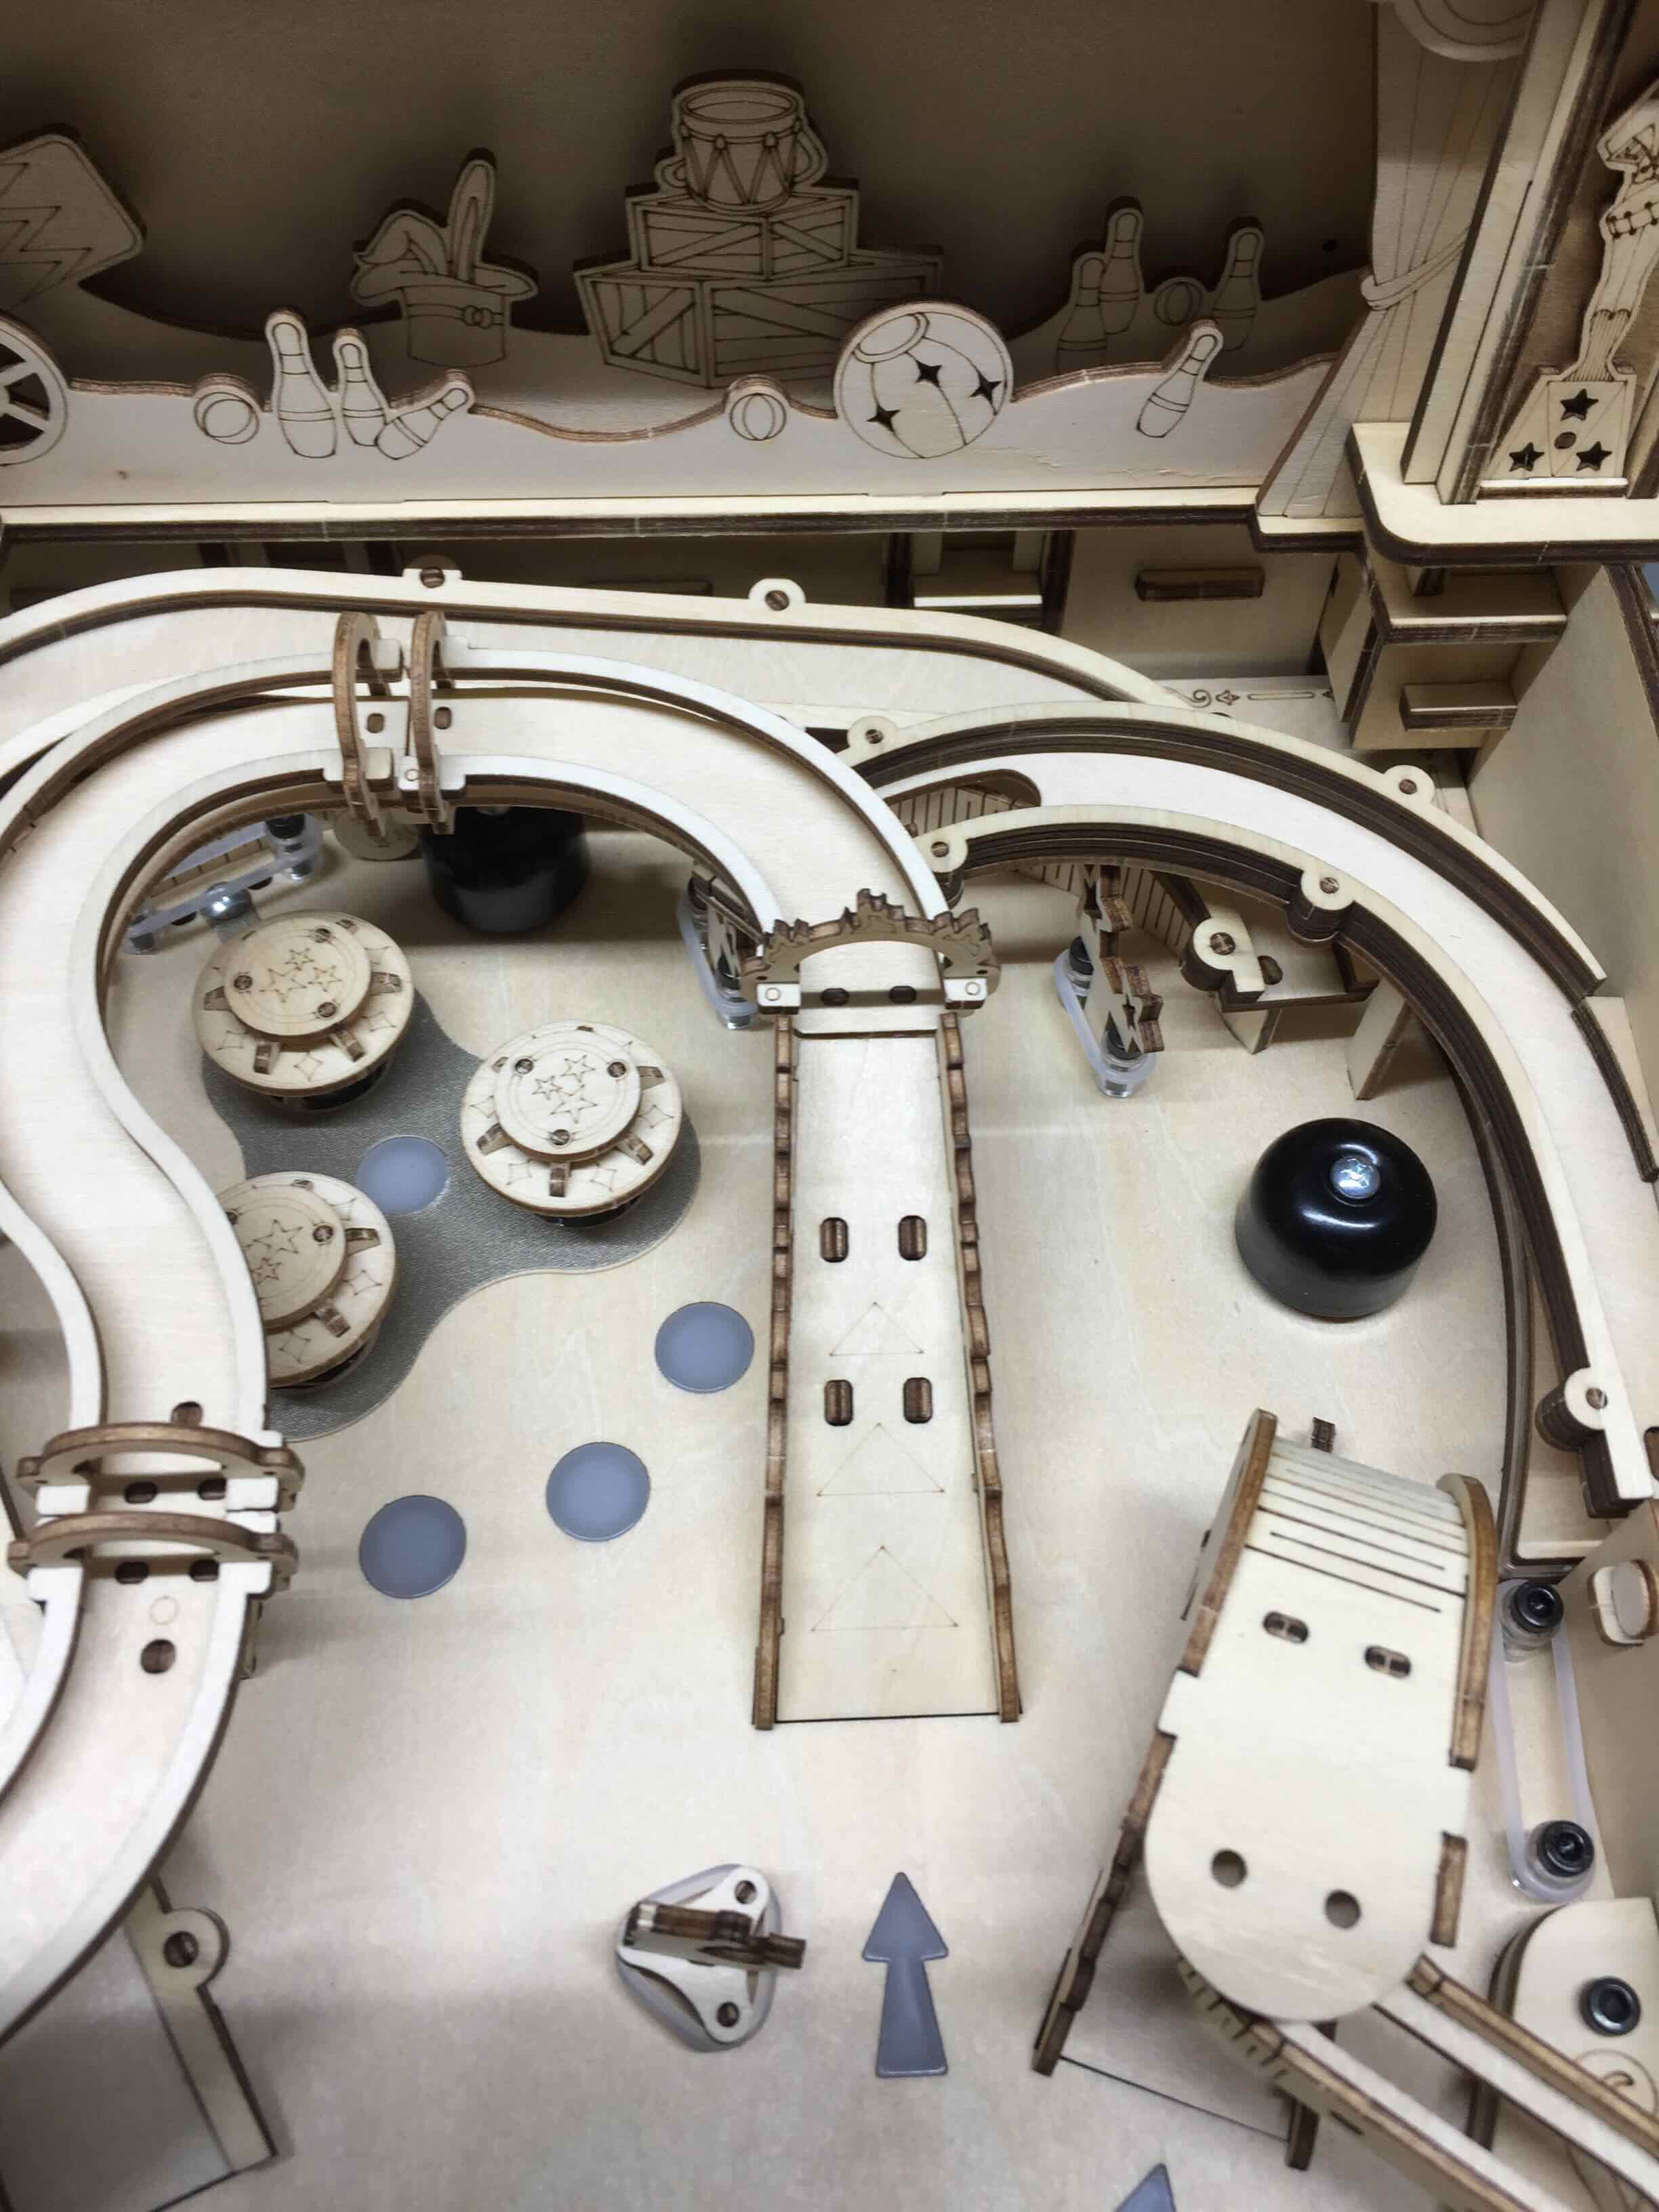
Ich habe mir diesen Bausatz für einen Retro Flipper bestellt.
Ein wirklich toller Bausatz, die Teile sind passgenau und auch zum Teil mehrfach vorhanden. Sollte beim Aufbau ein Teil brechen, ist das nicht weiter schlimm. Es sind gut 400 Teile zu verbauen, d.h, der Aufbau dauert mehrere Stunden.
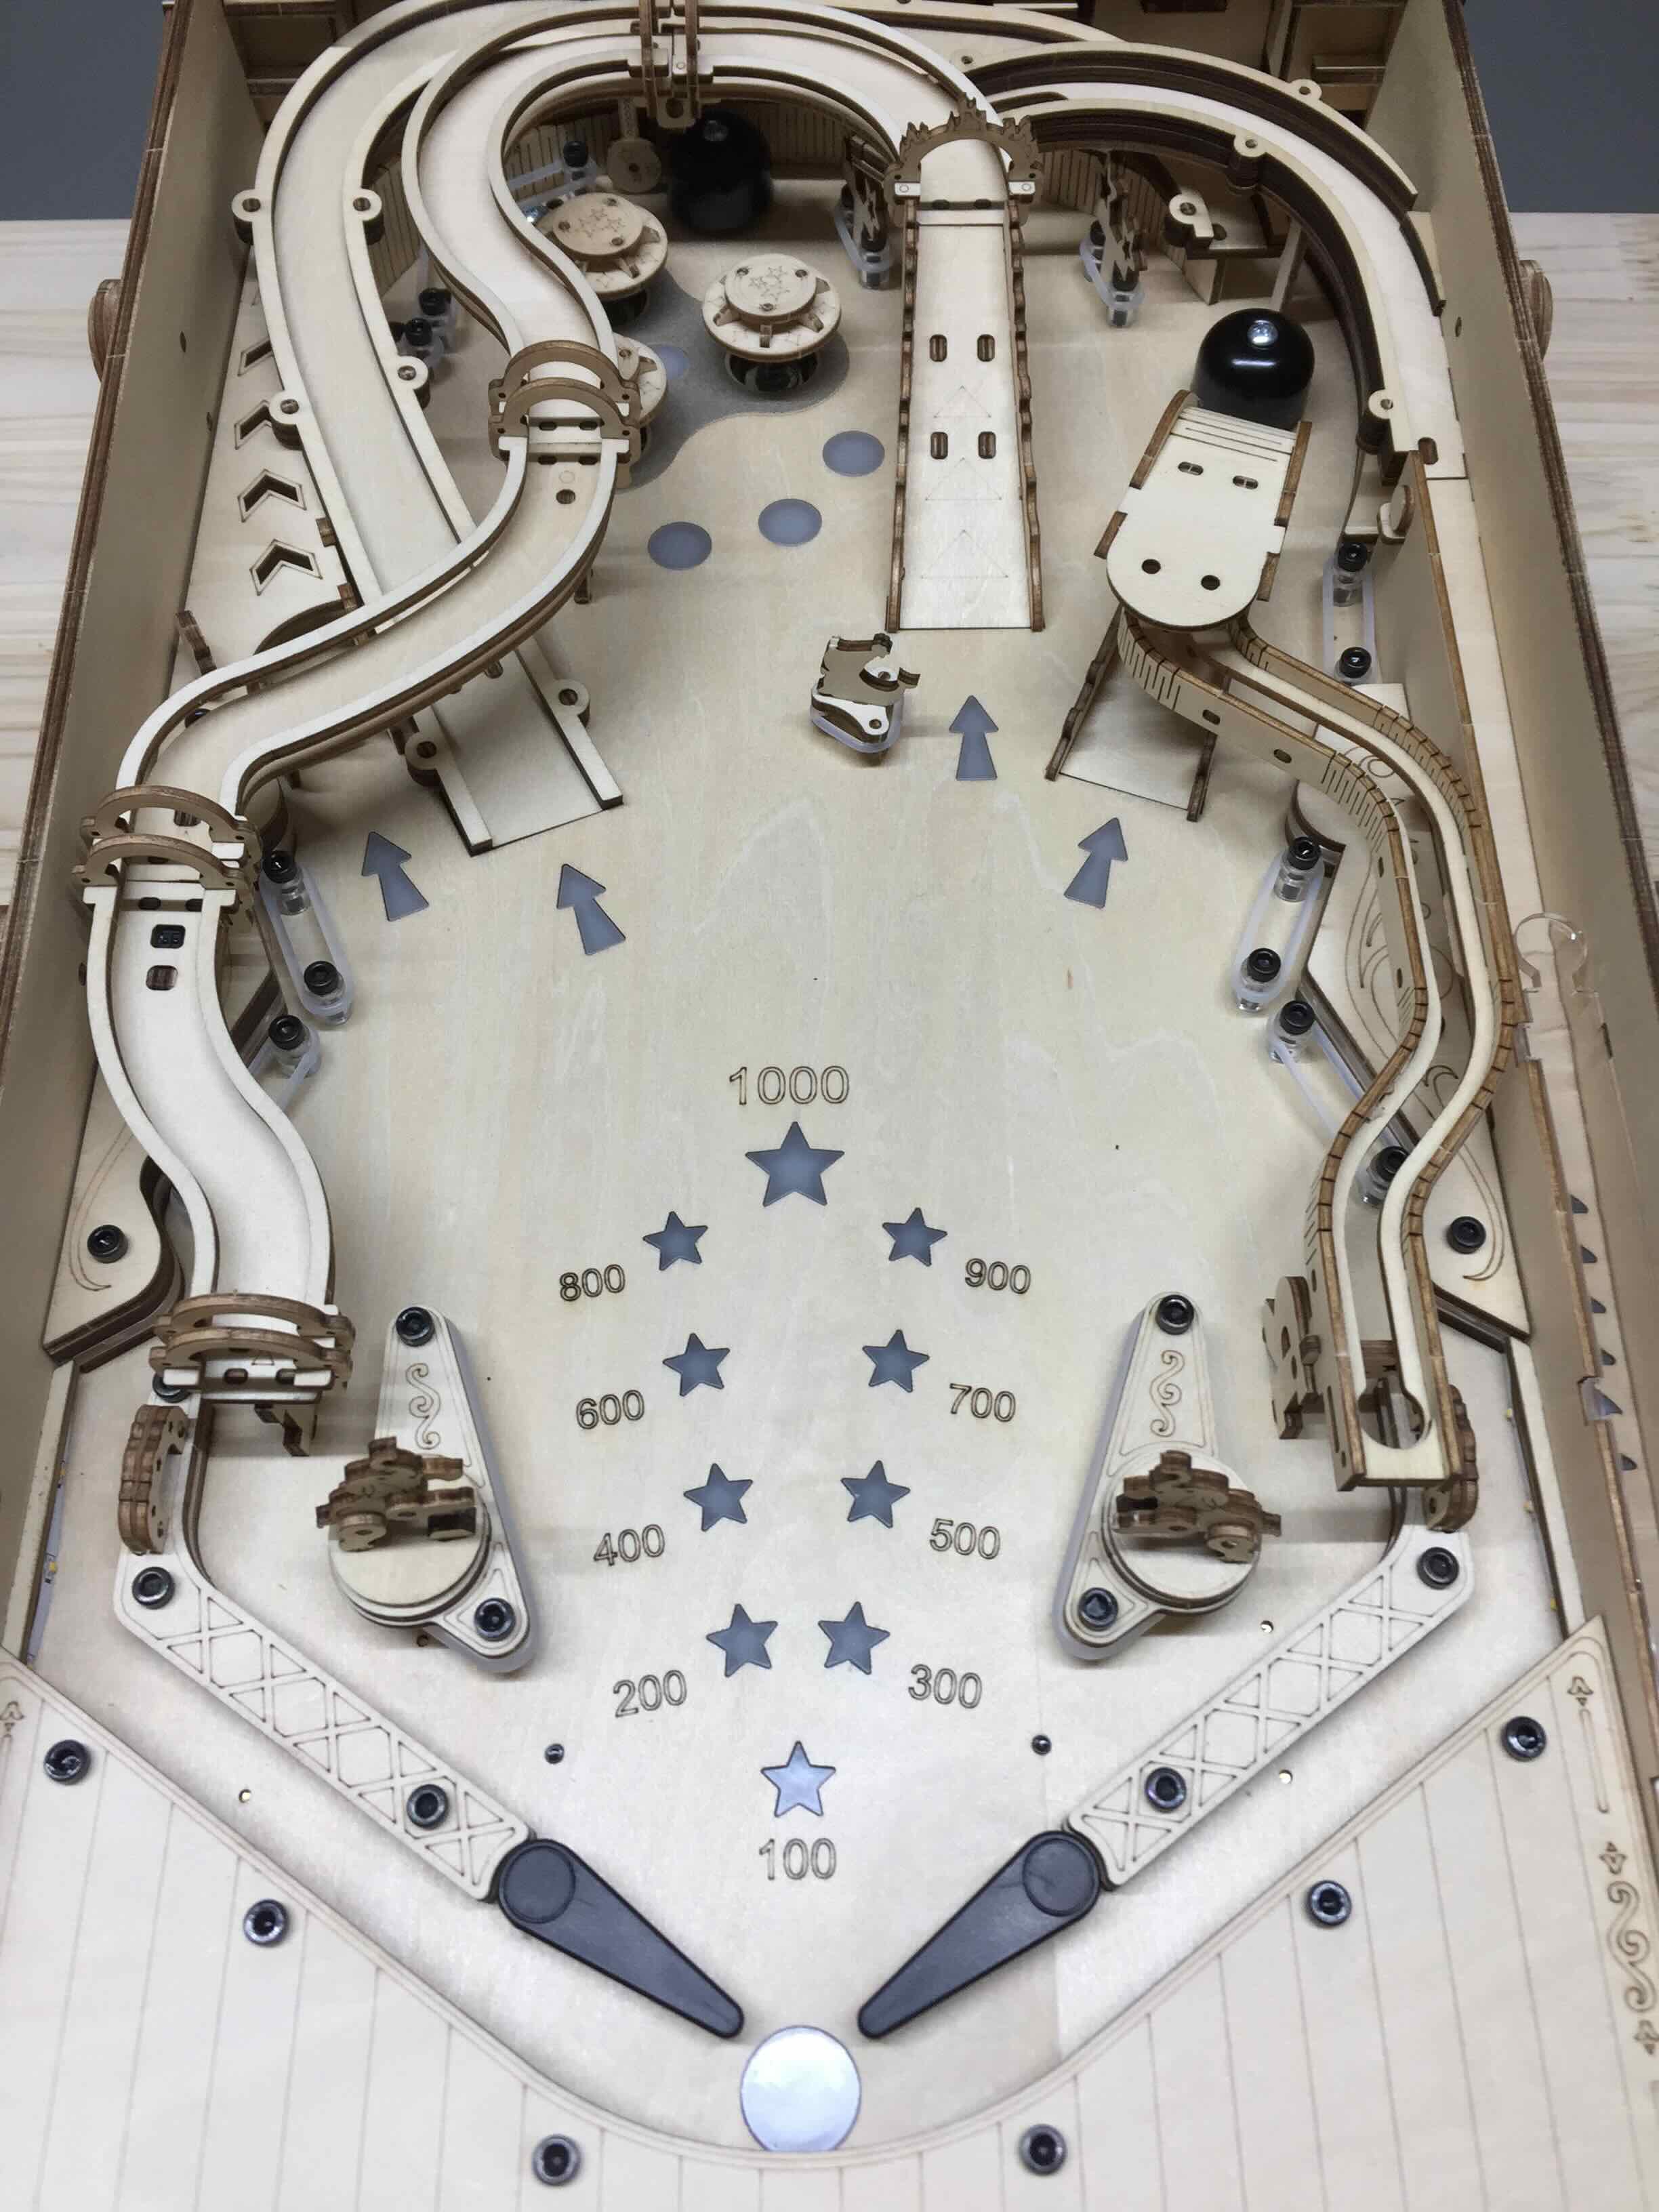
Der Flipper verfügt über Sound und Lichteffekte, es kann durchaus eine Runde gespielt werden.
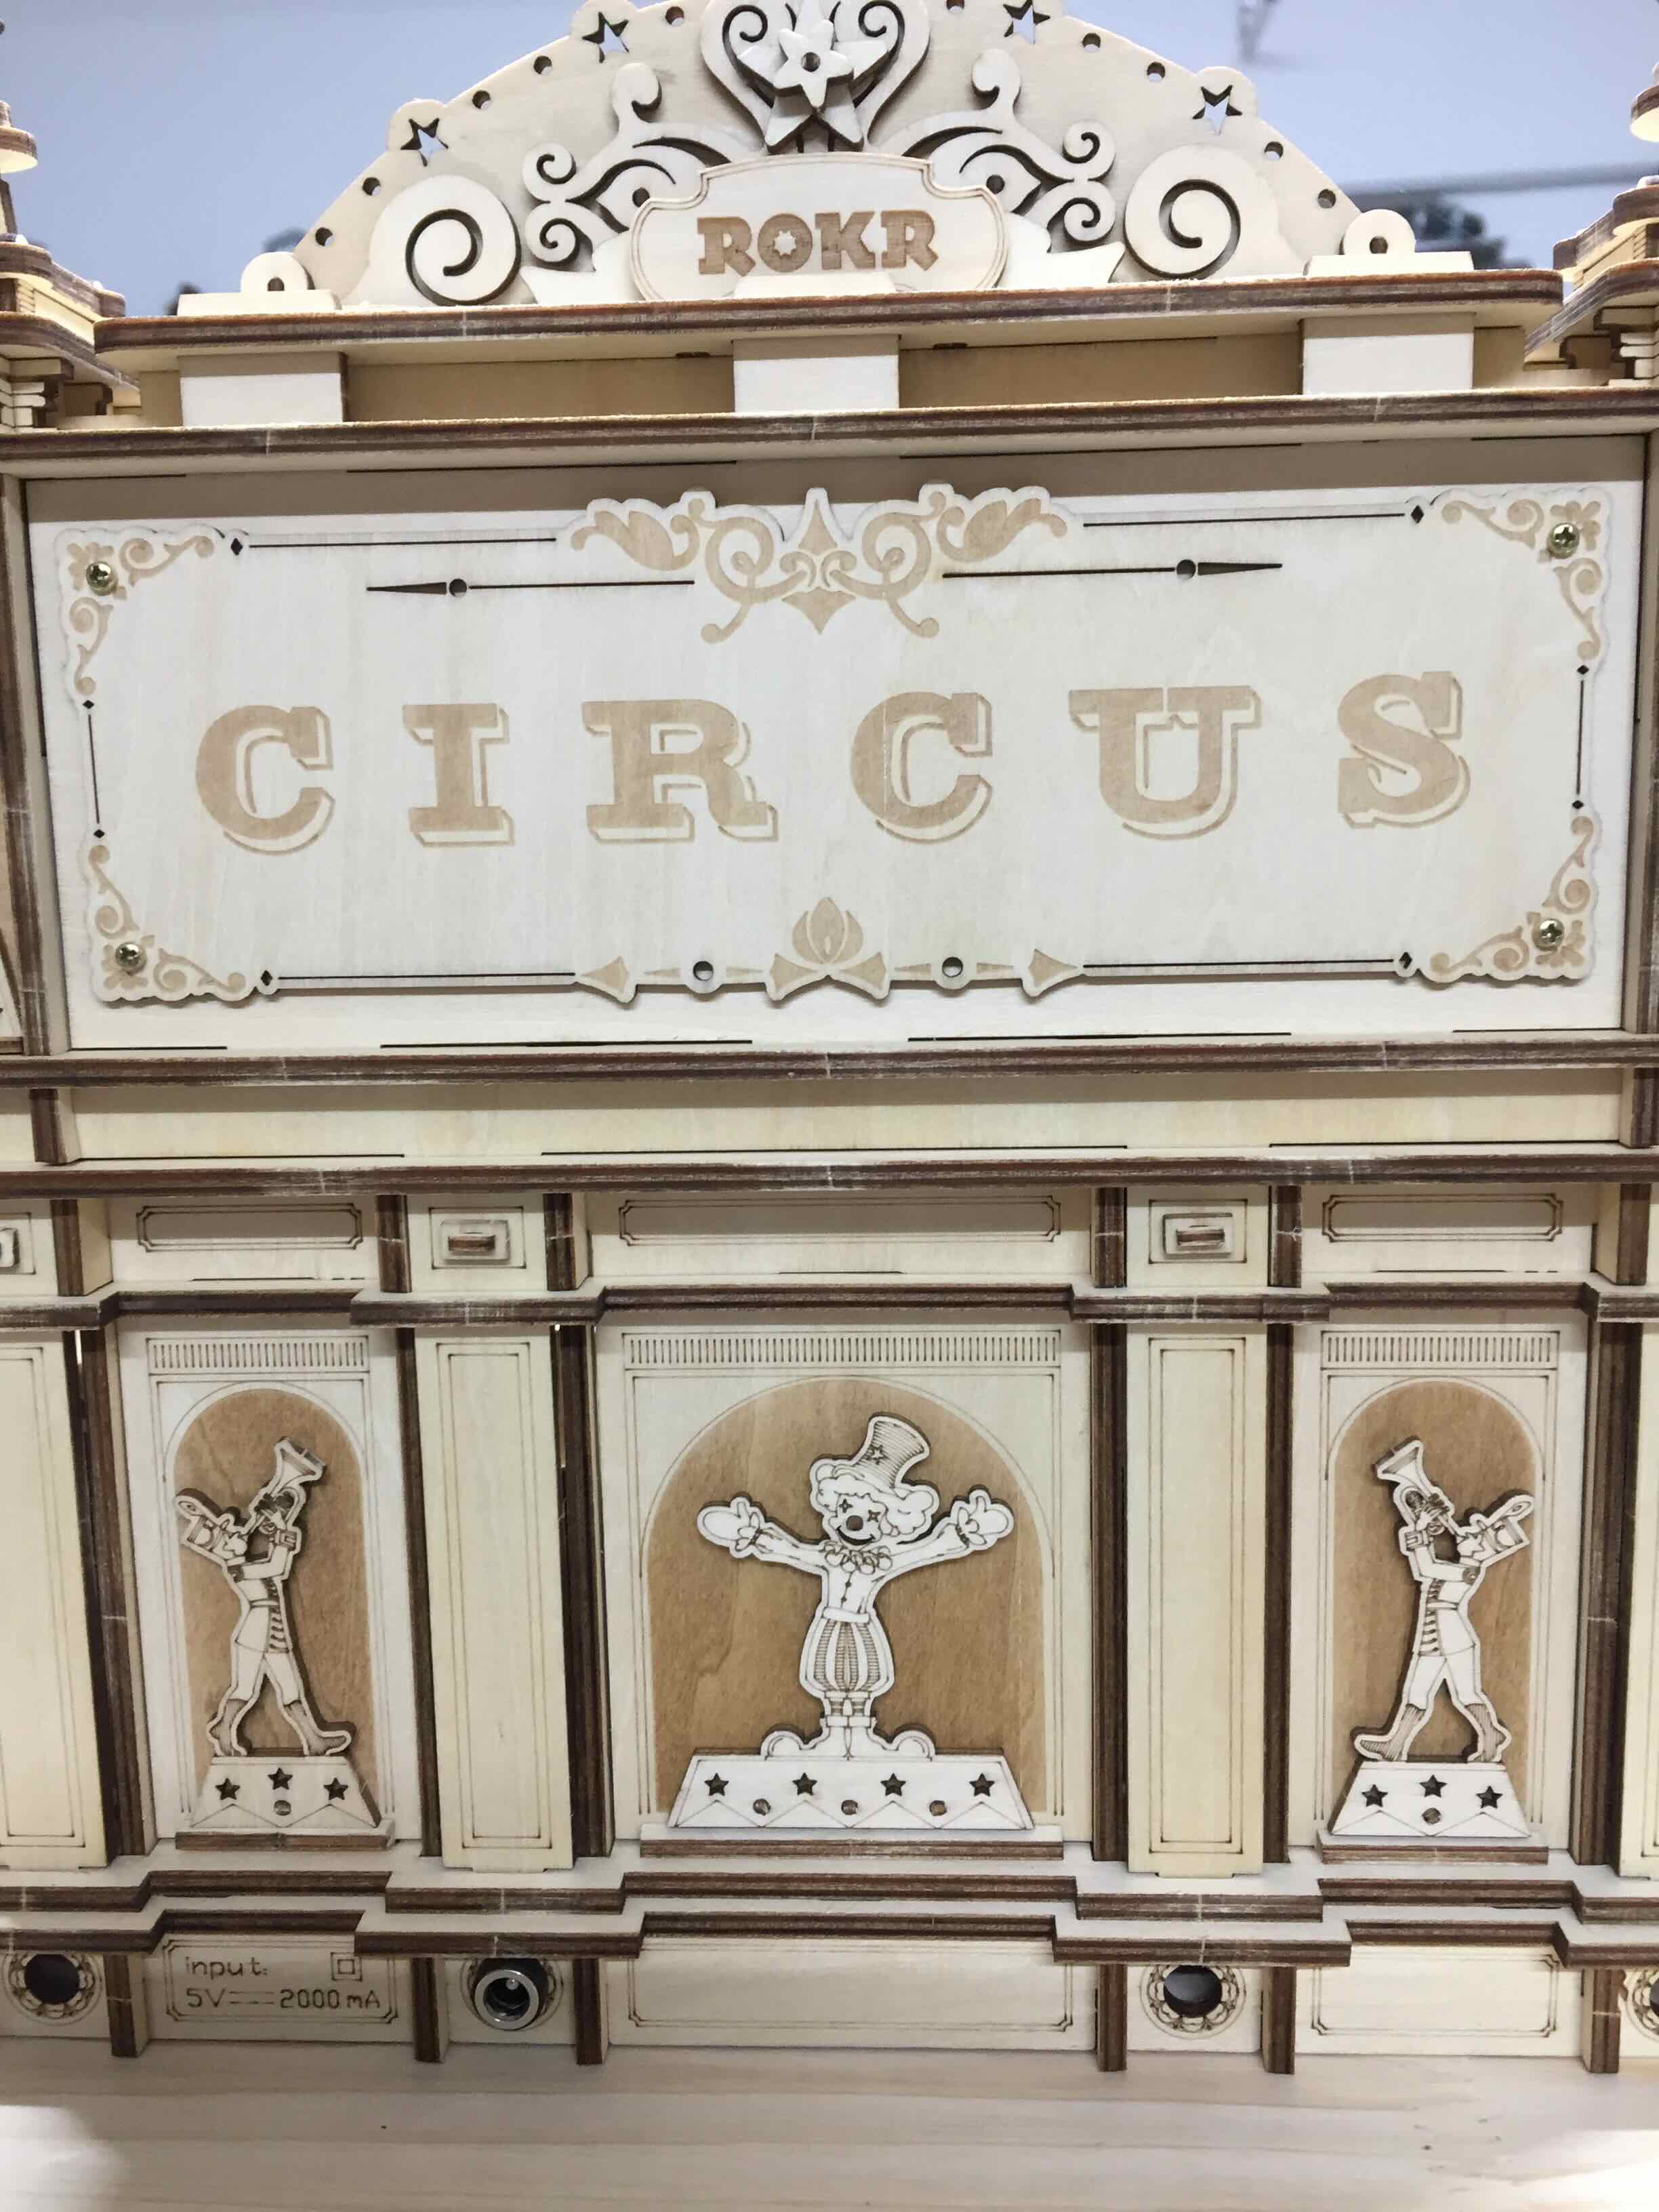
Das Ergebnis kann sich aber sehen lassen und die Freude beim Bau ist unbezahlbar.
Die Rückseite
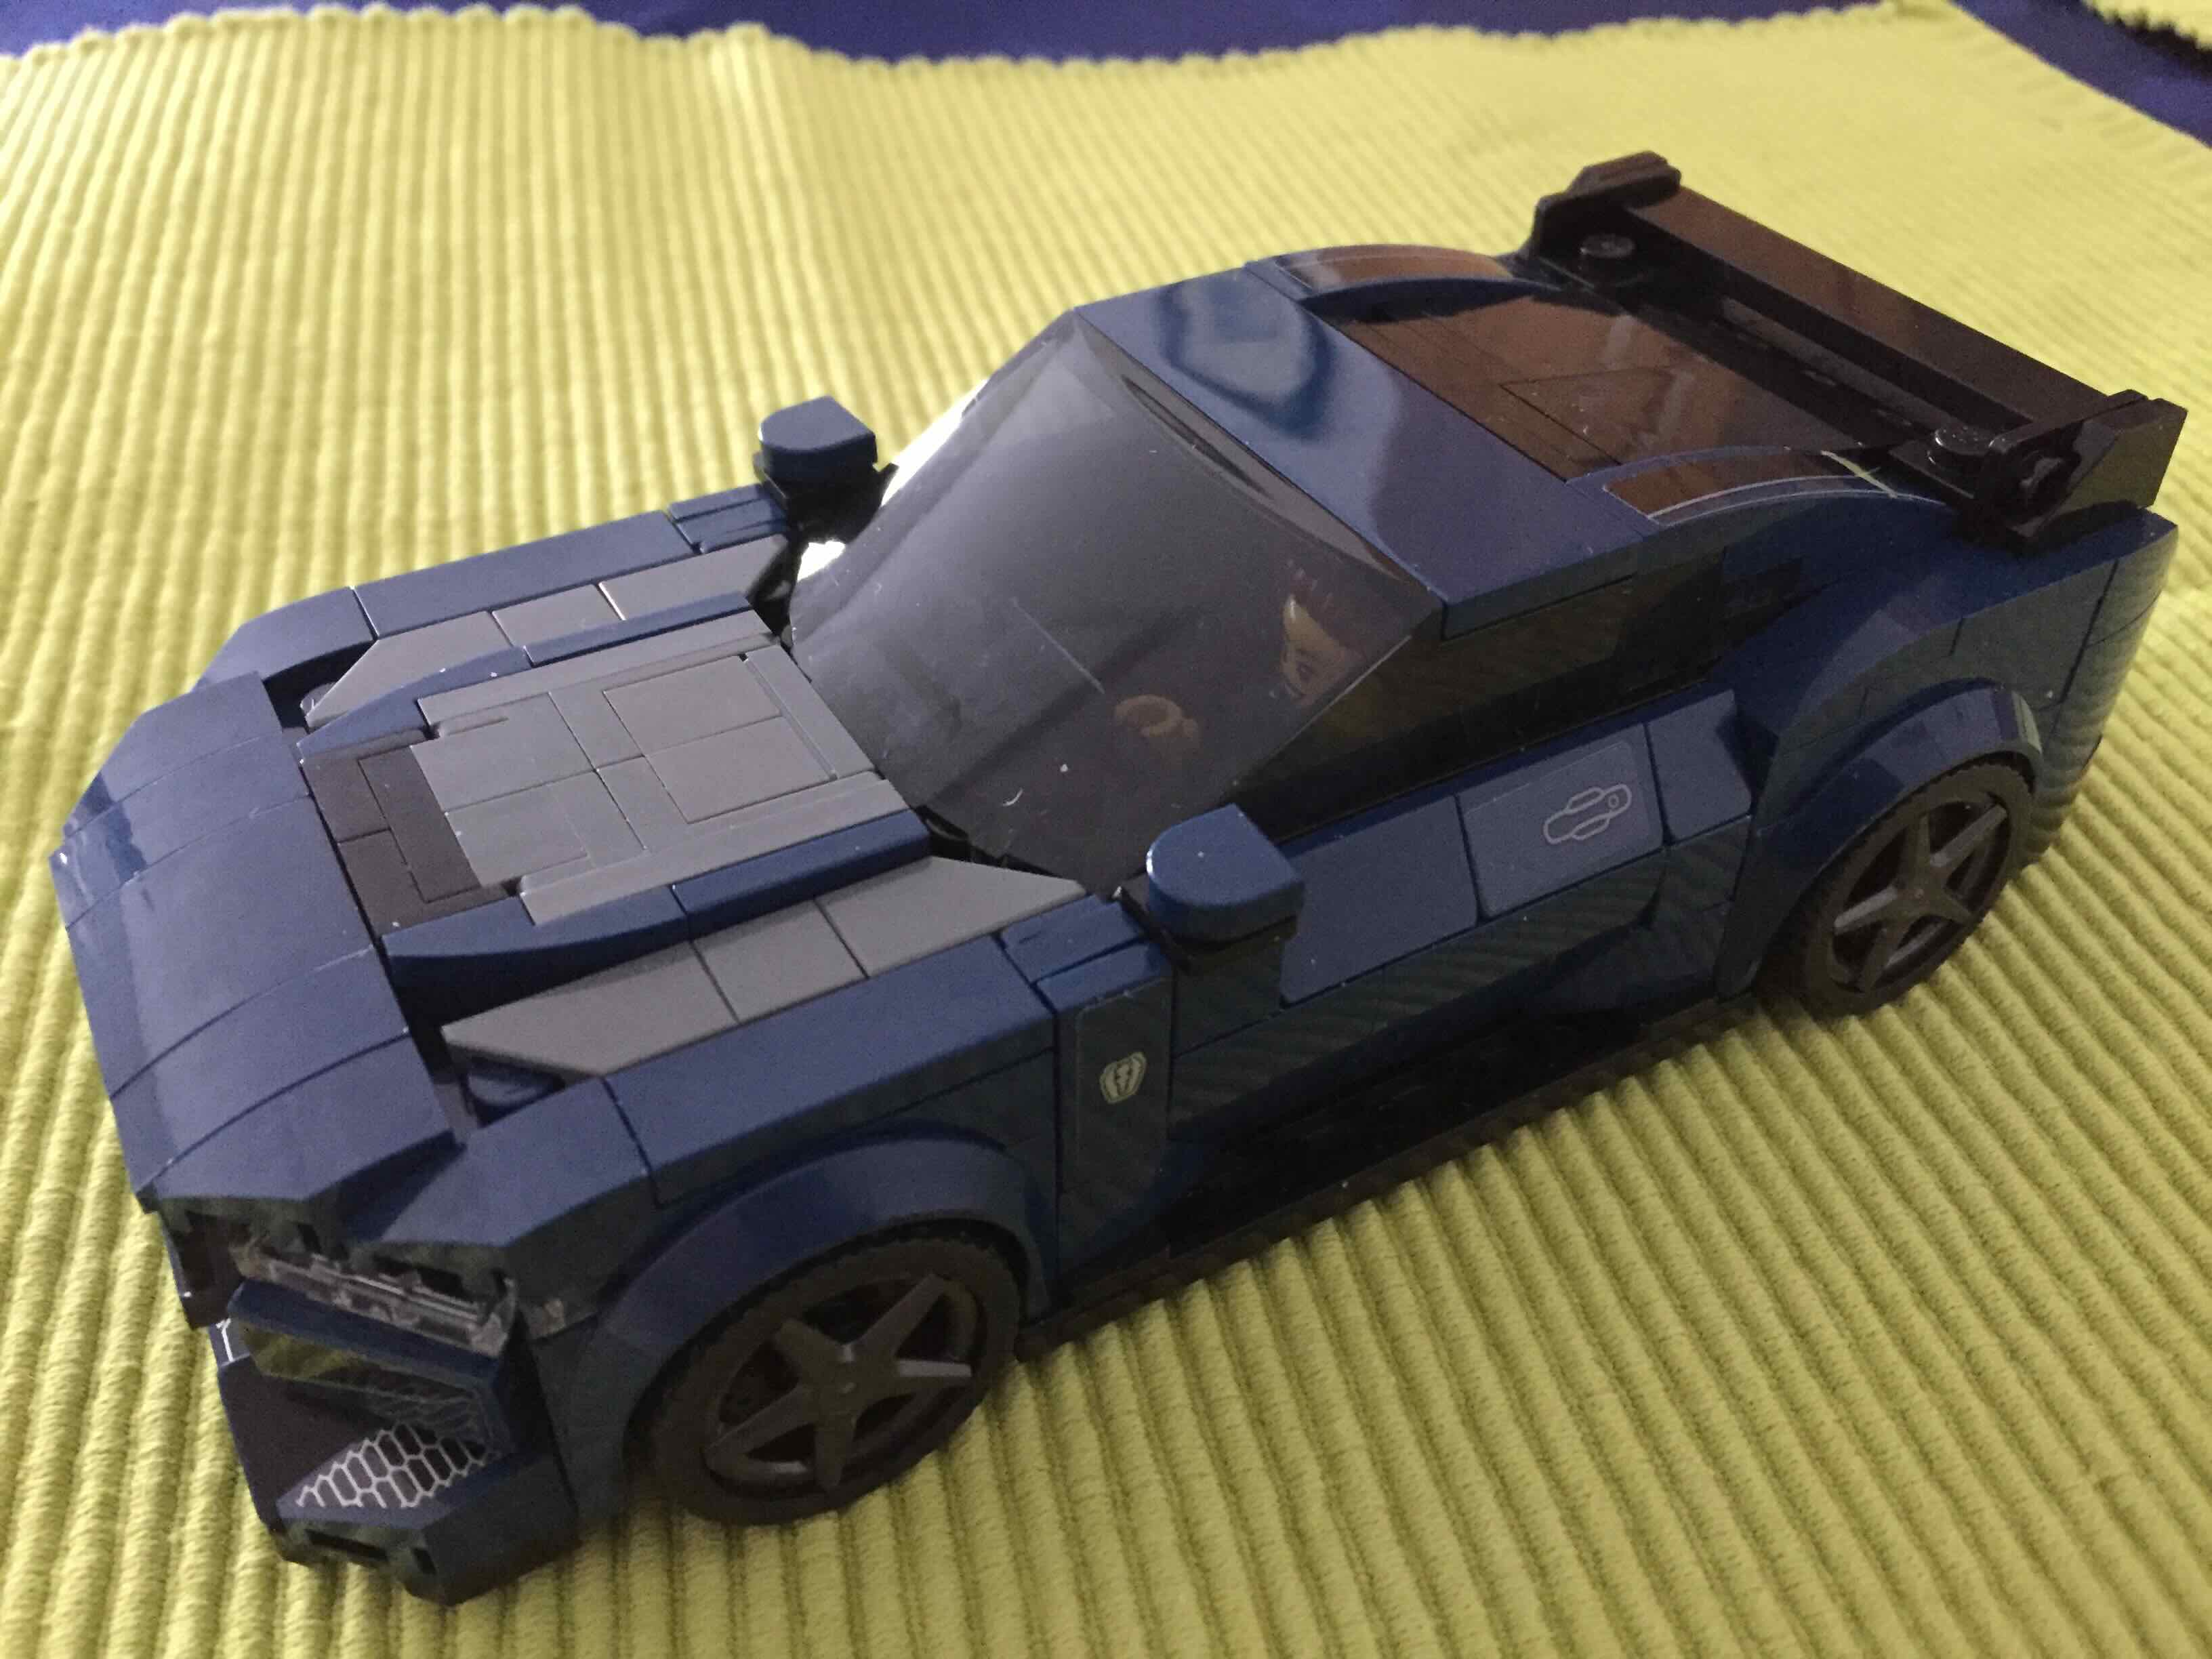
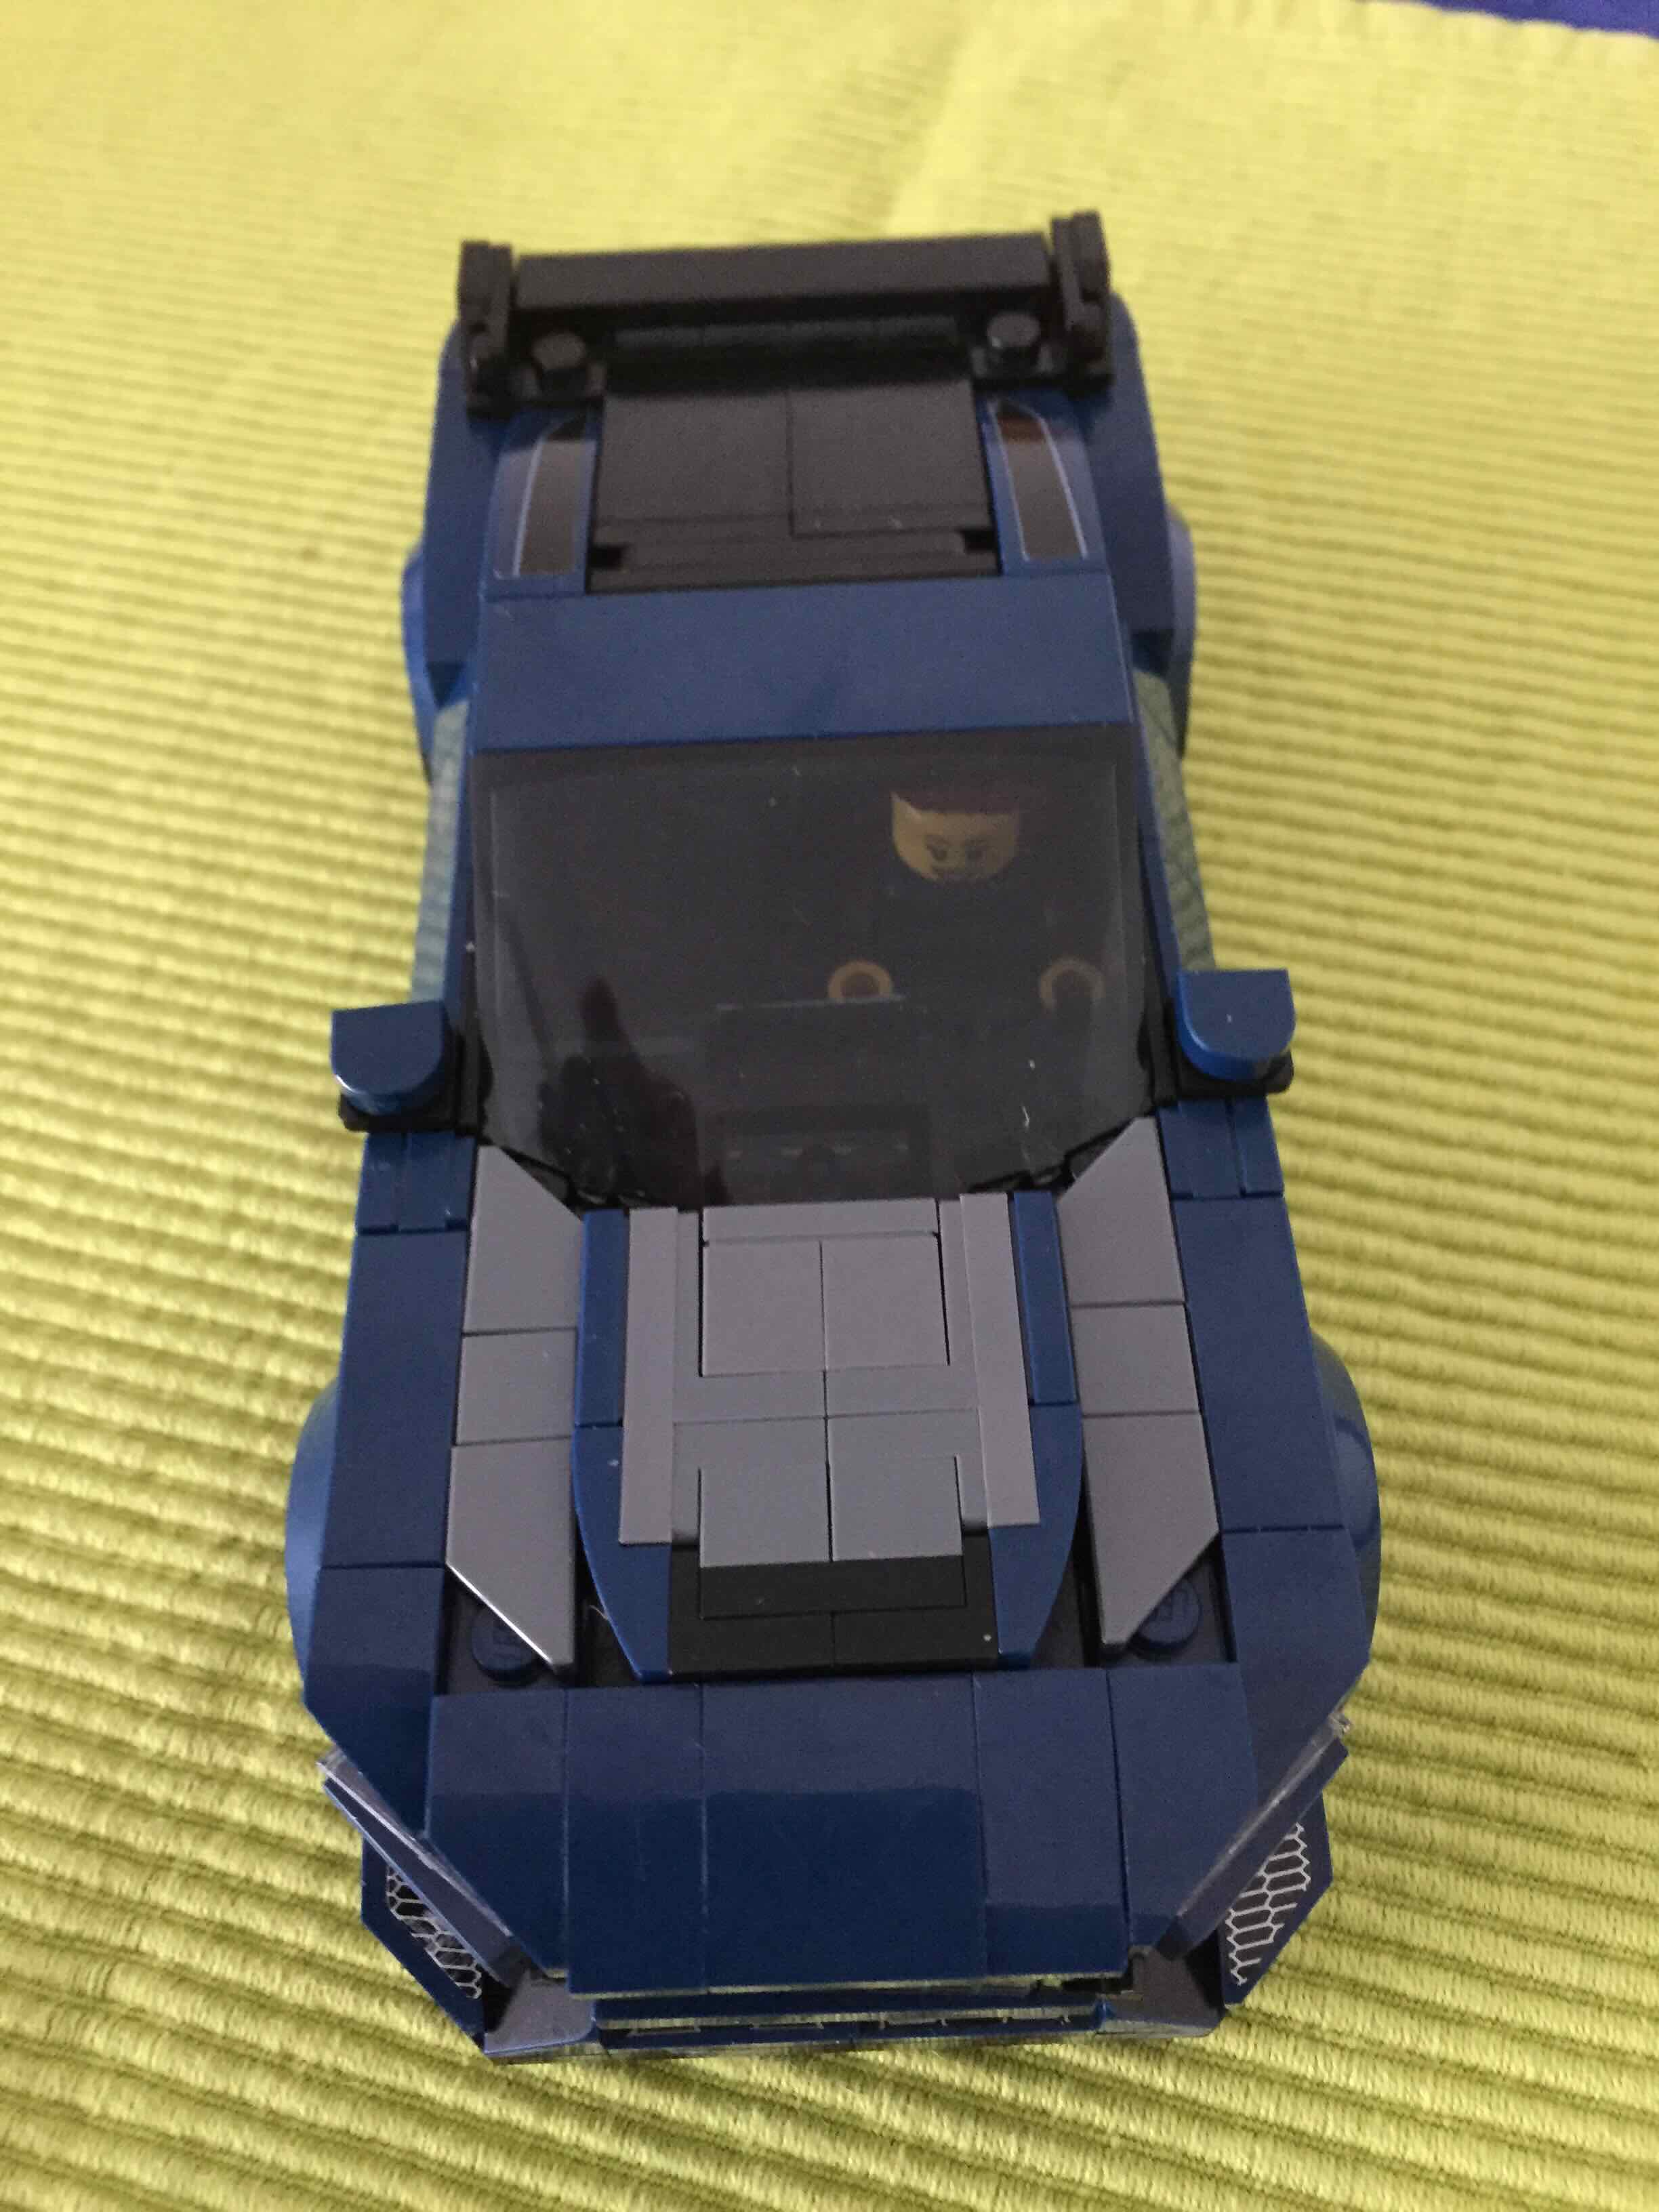
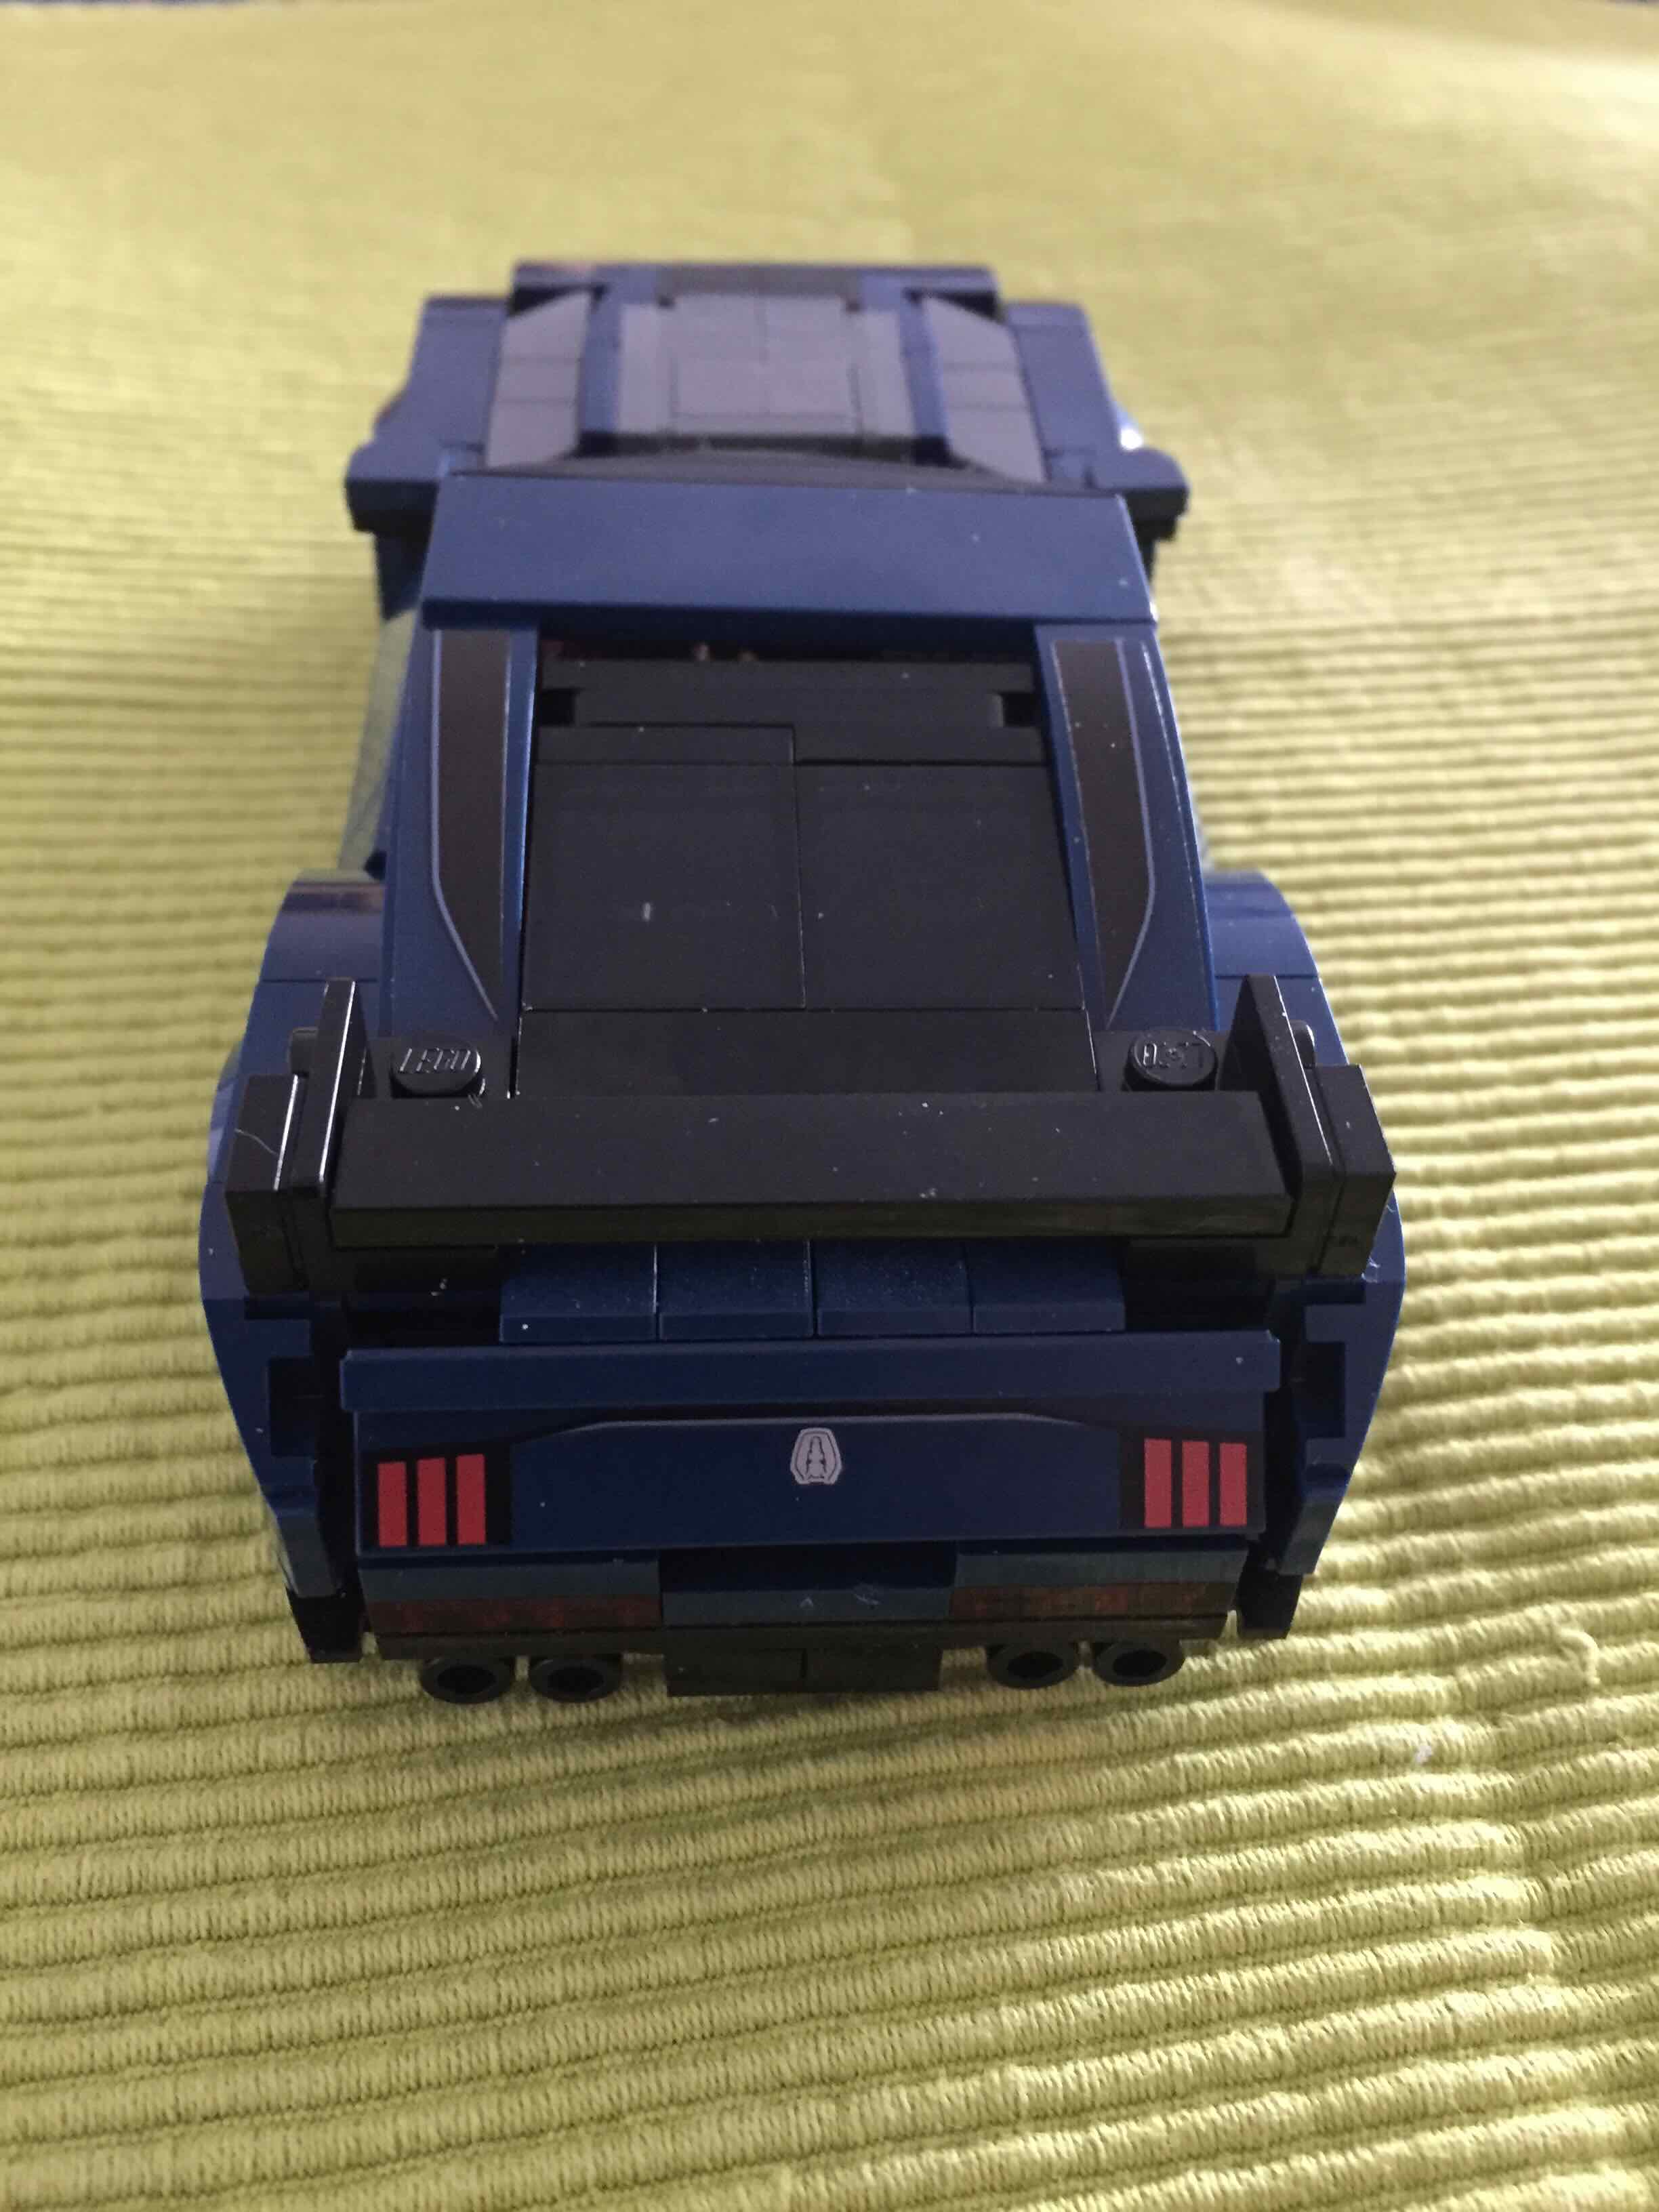
Ford Mustang Lego Bausatz
April 17, 2024 Lesezeit: ~1 Minute
Meine Frau hat mir einen Ford Mustang als Lego Bausatz geschenkt. Der Zusammenbau hat Spaß gemacht und das Ergebnis, finde ich, kann sich sehen lassen.
Wenn ich noch an meine Kindheit und an Lego denke, mit den damaligen Bausteinen wäre so ein Ergebnis nicht möglich gewesen.
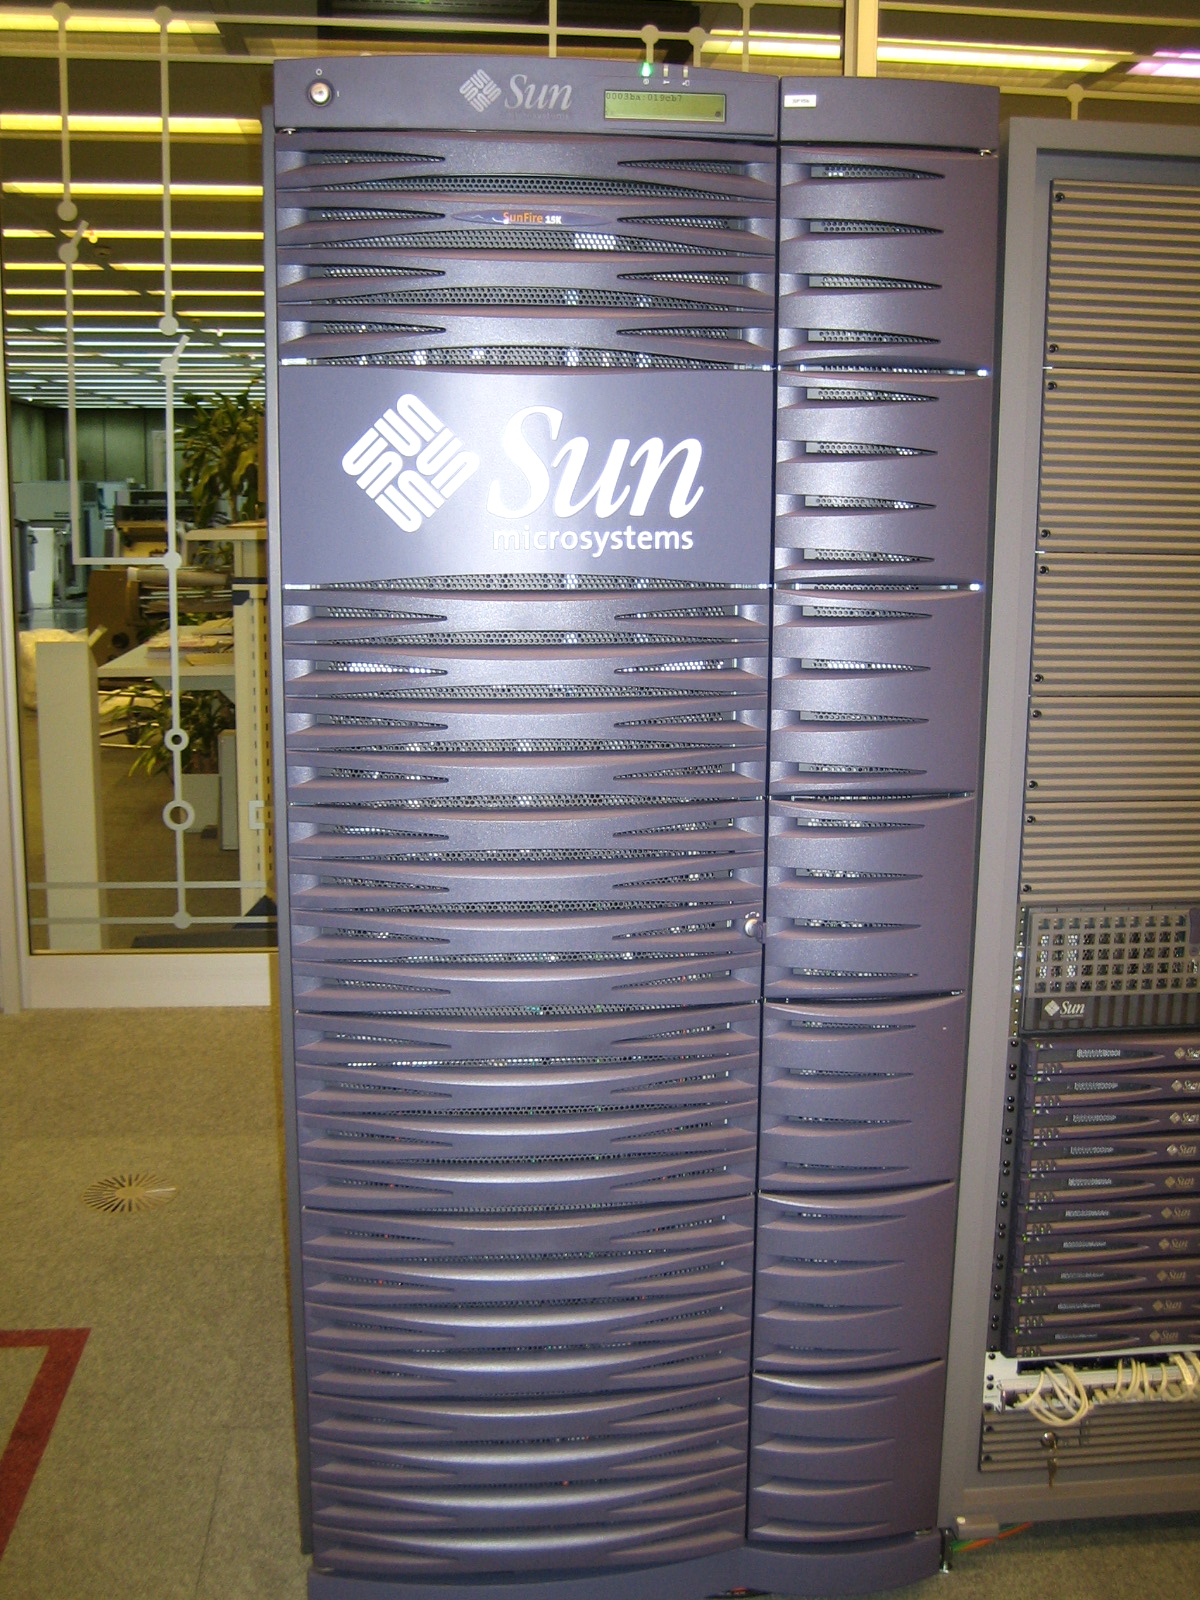
Sun Fire SF15K History
April 16, 2024 Lesezeit: 3 Minuten
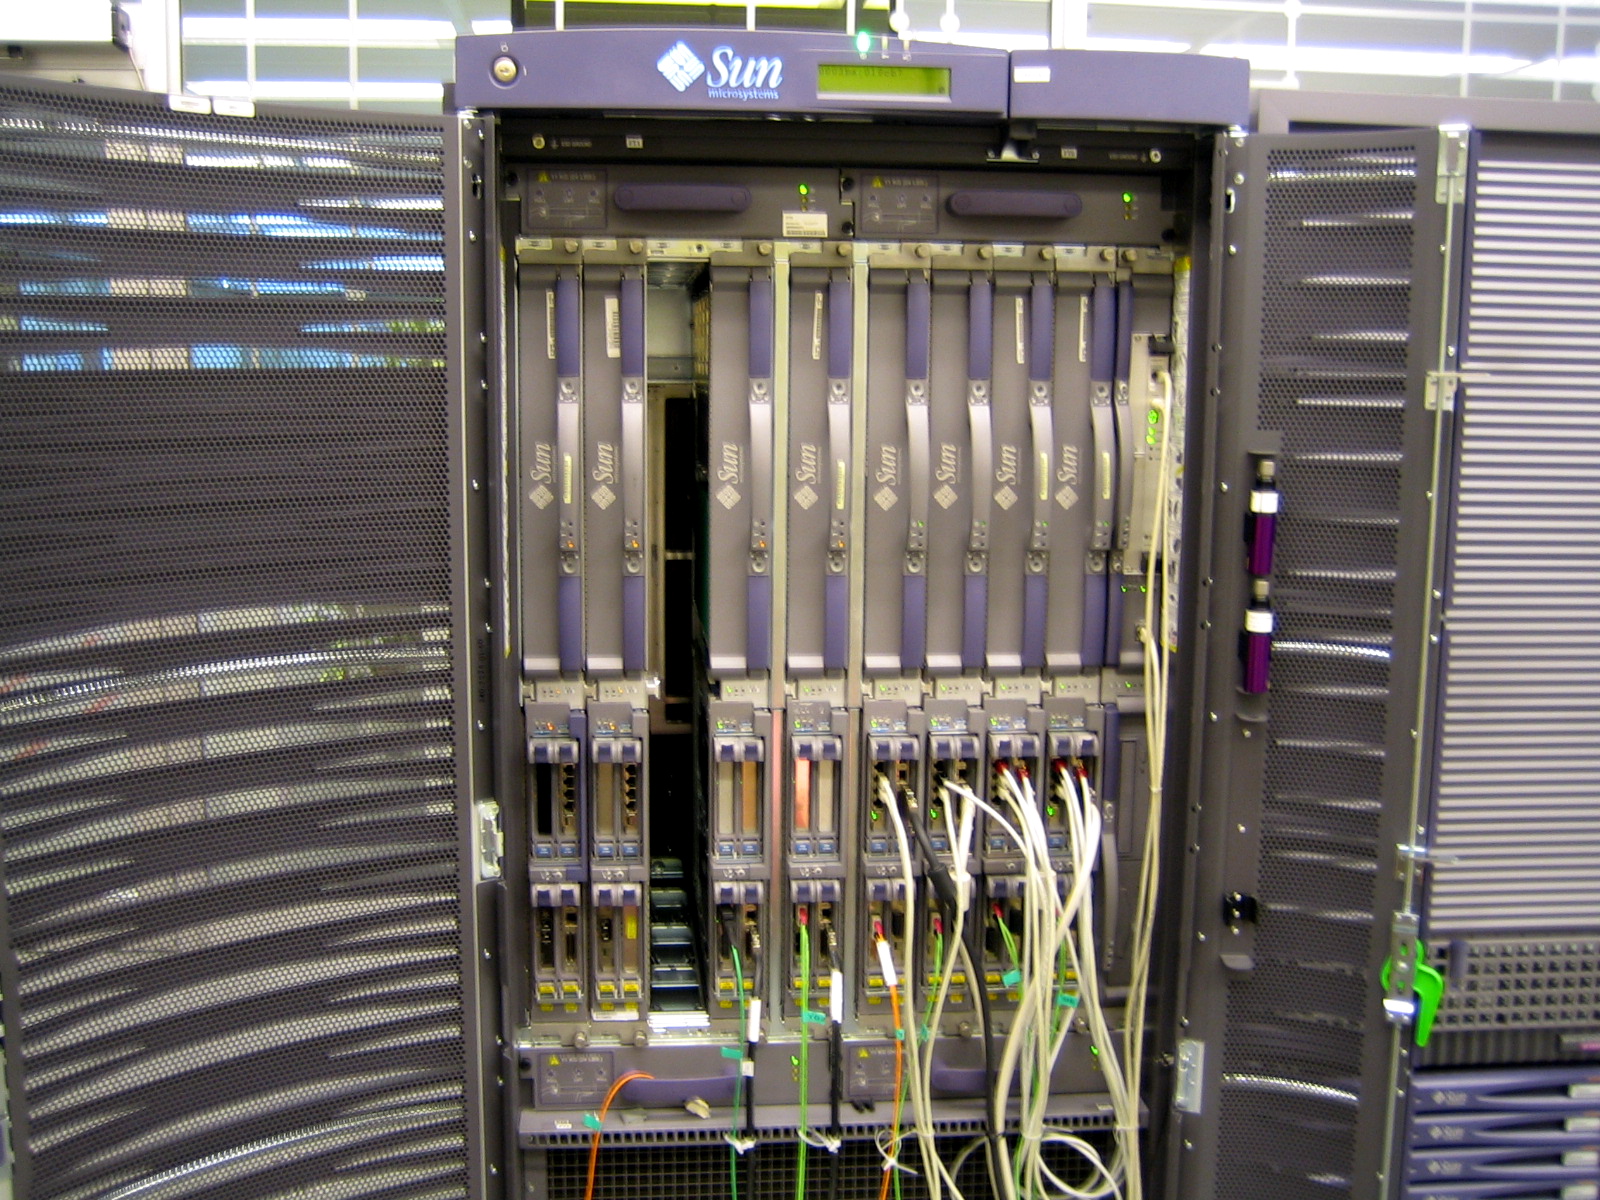
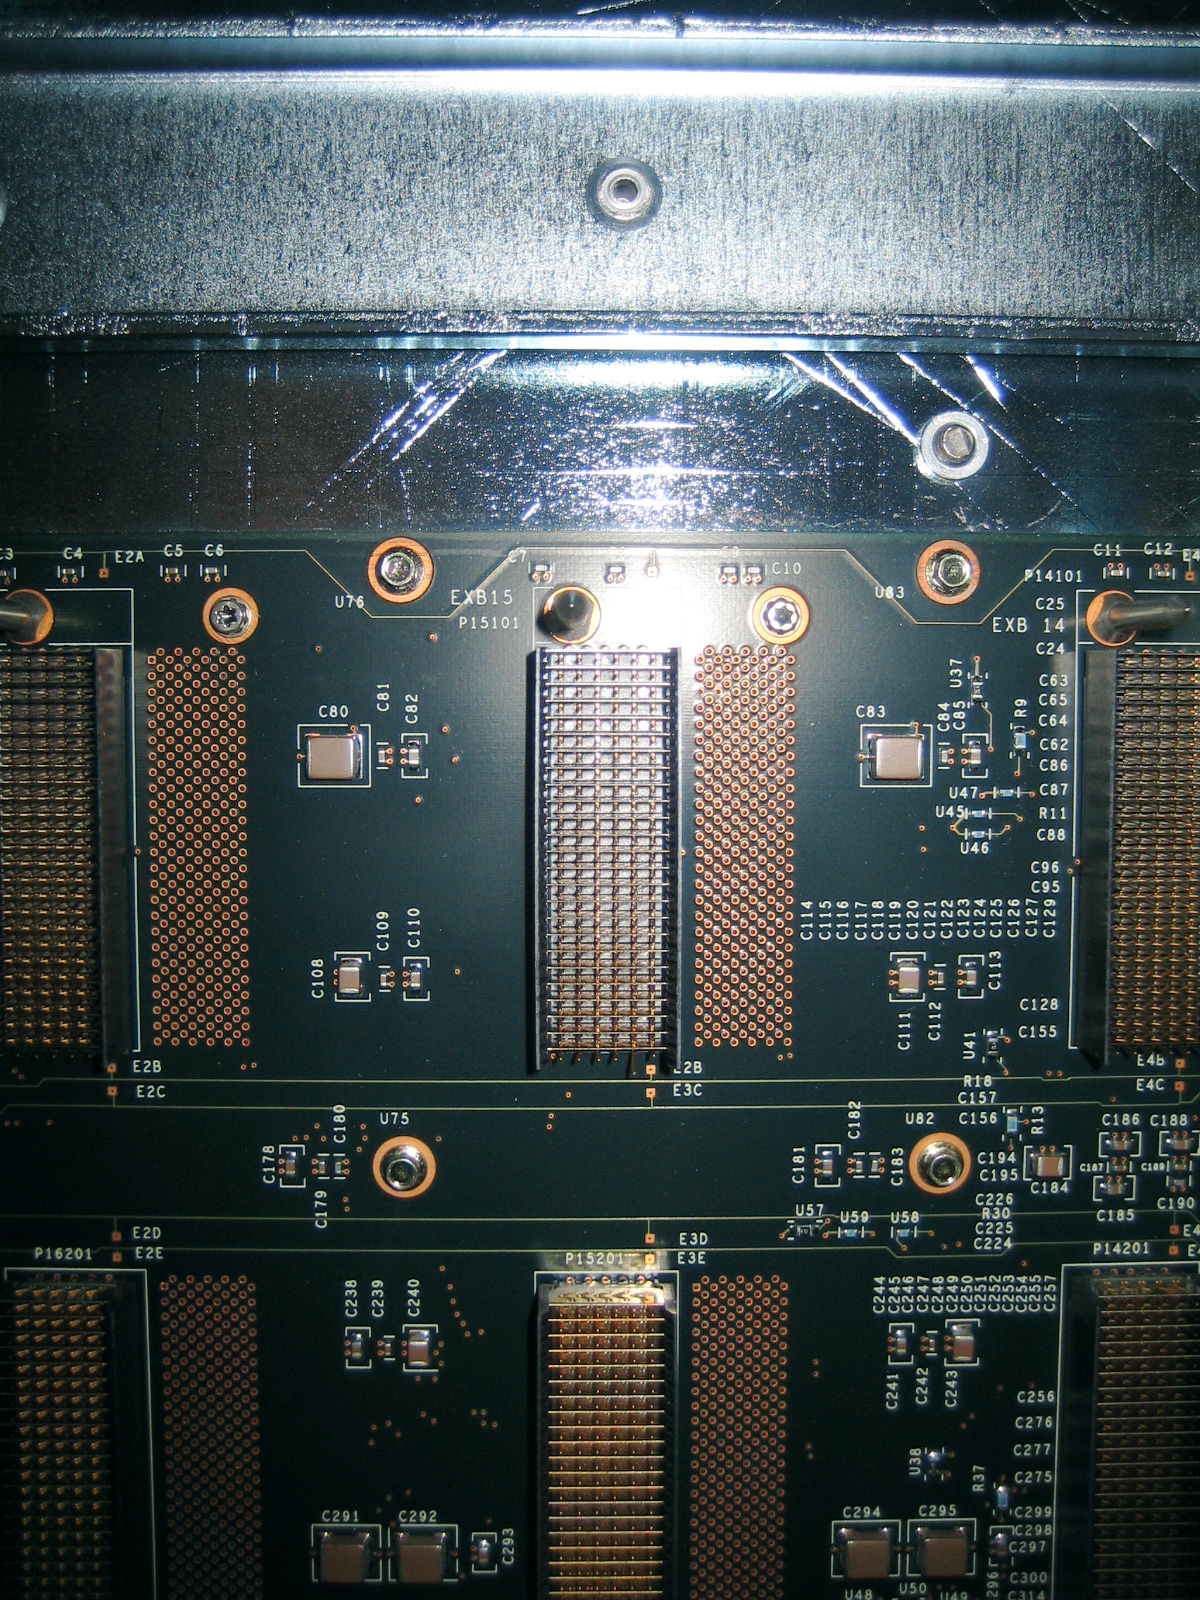
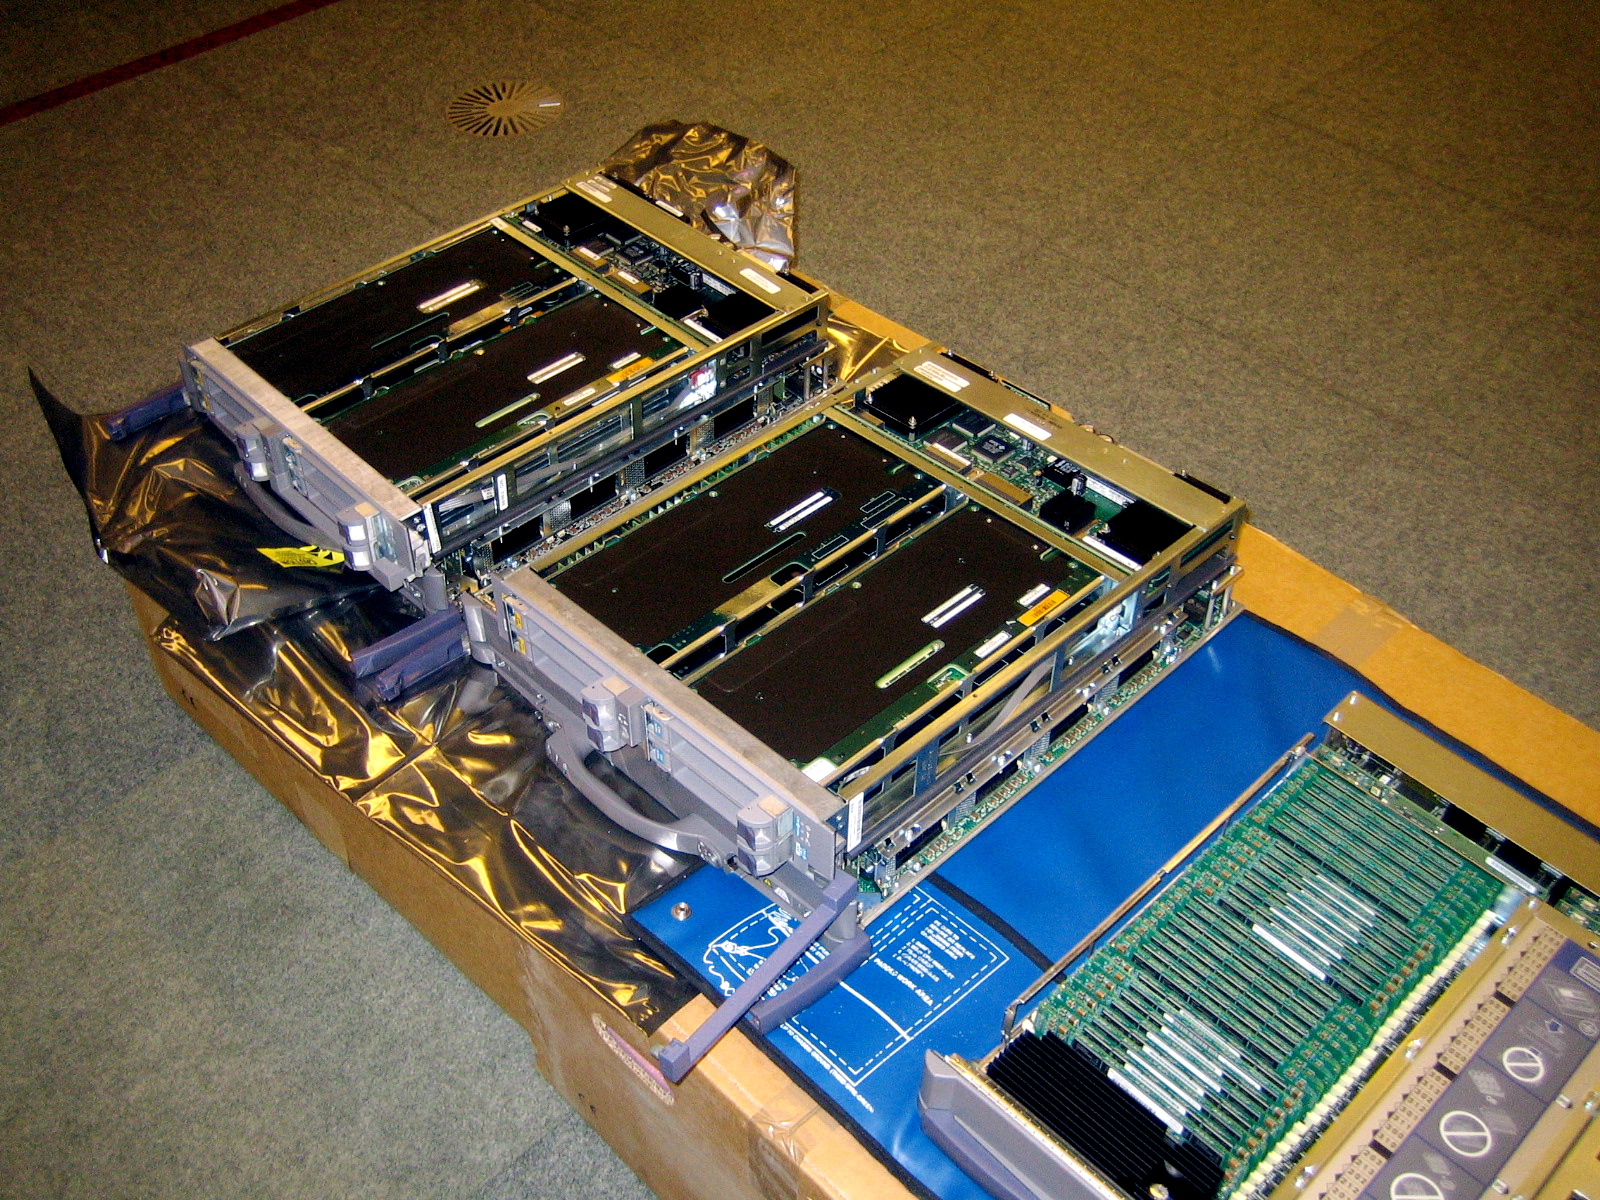
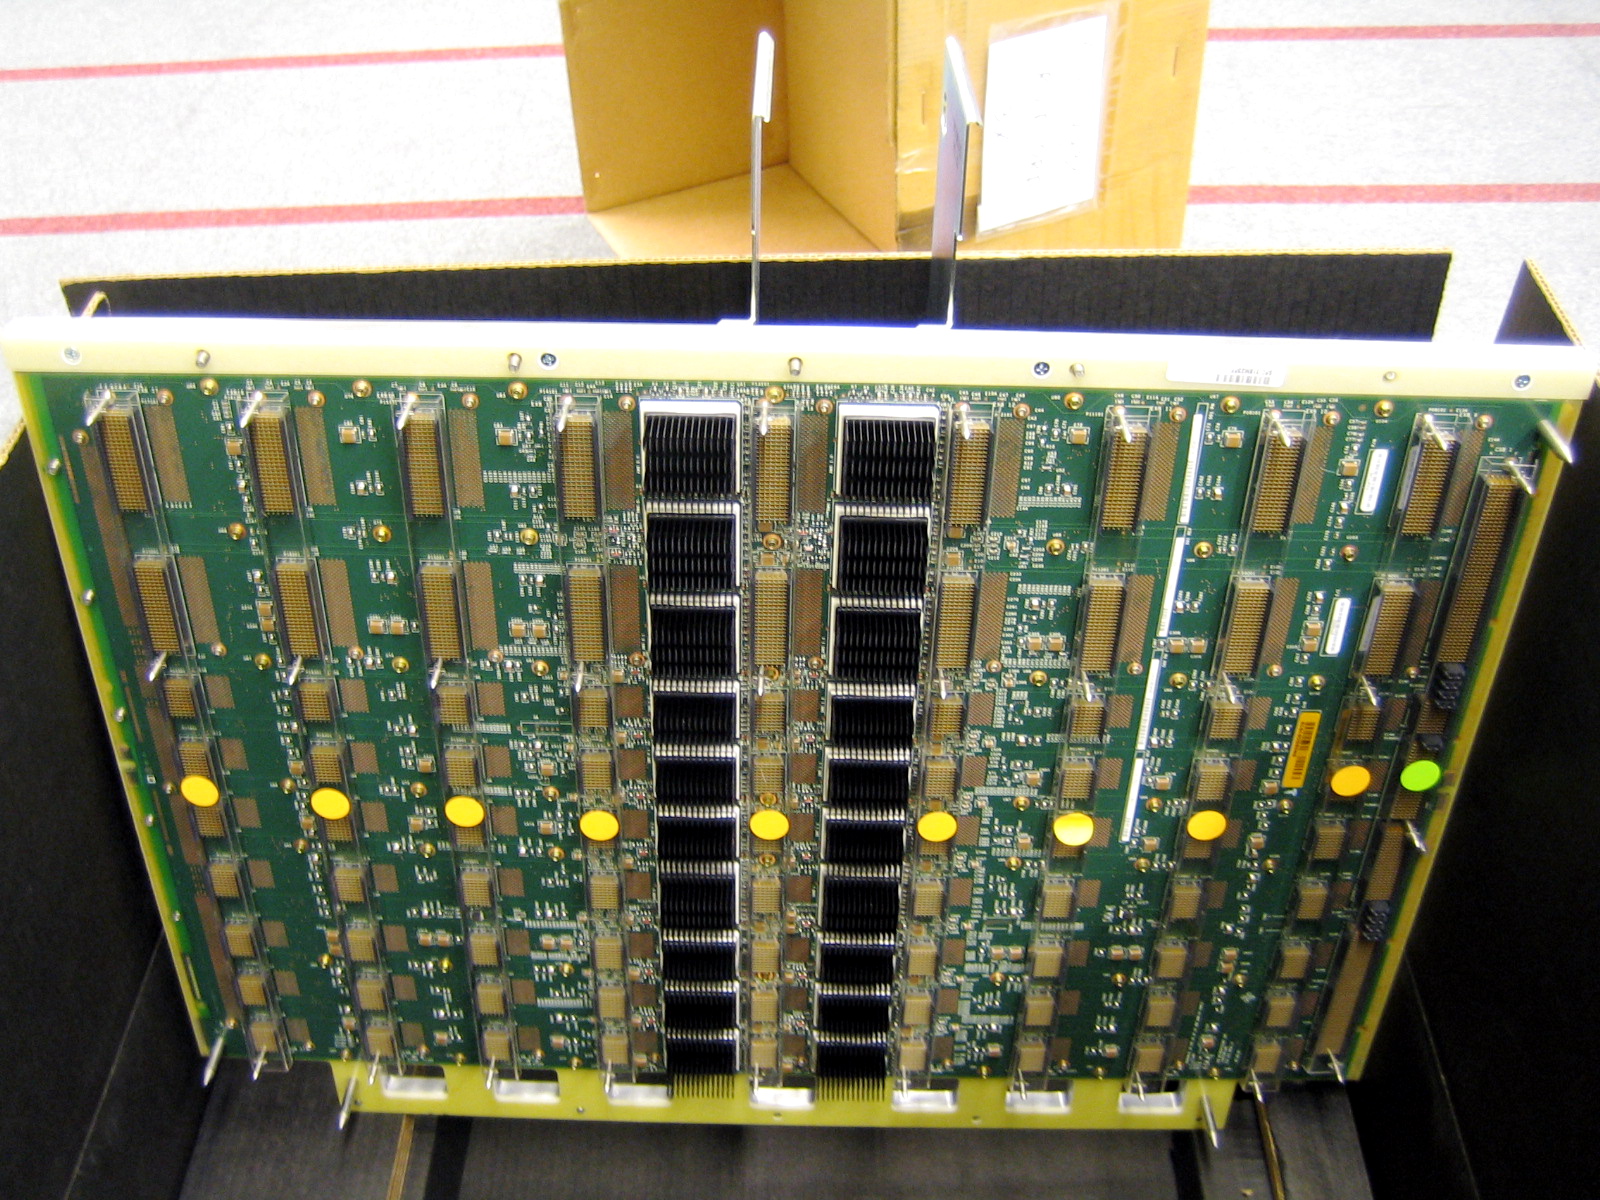
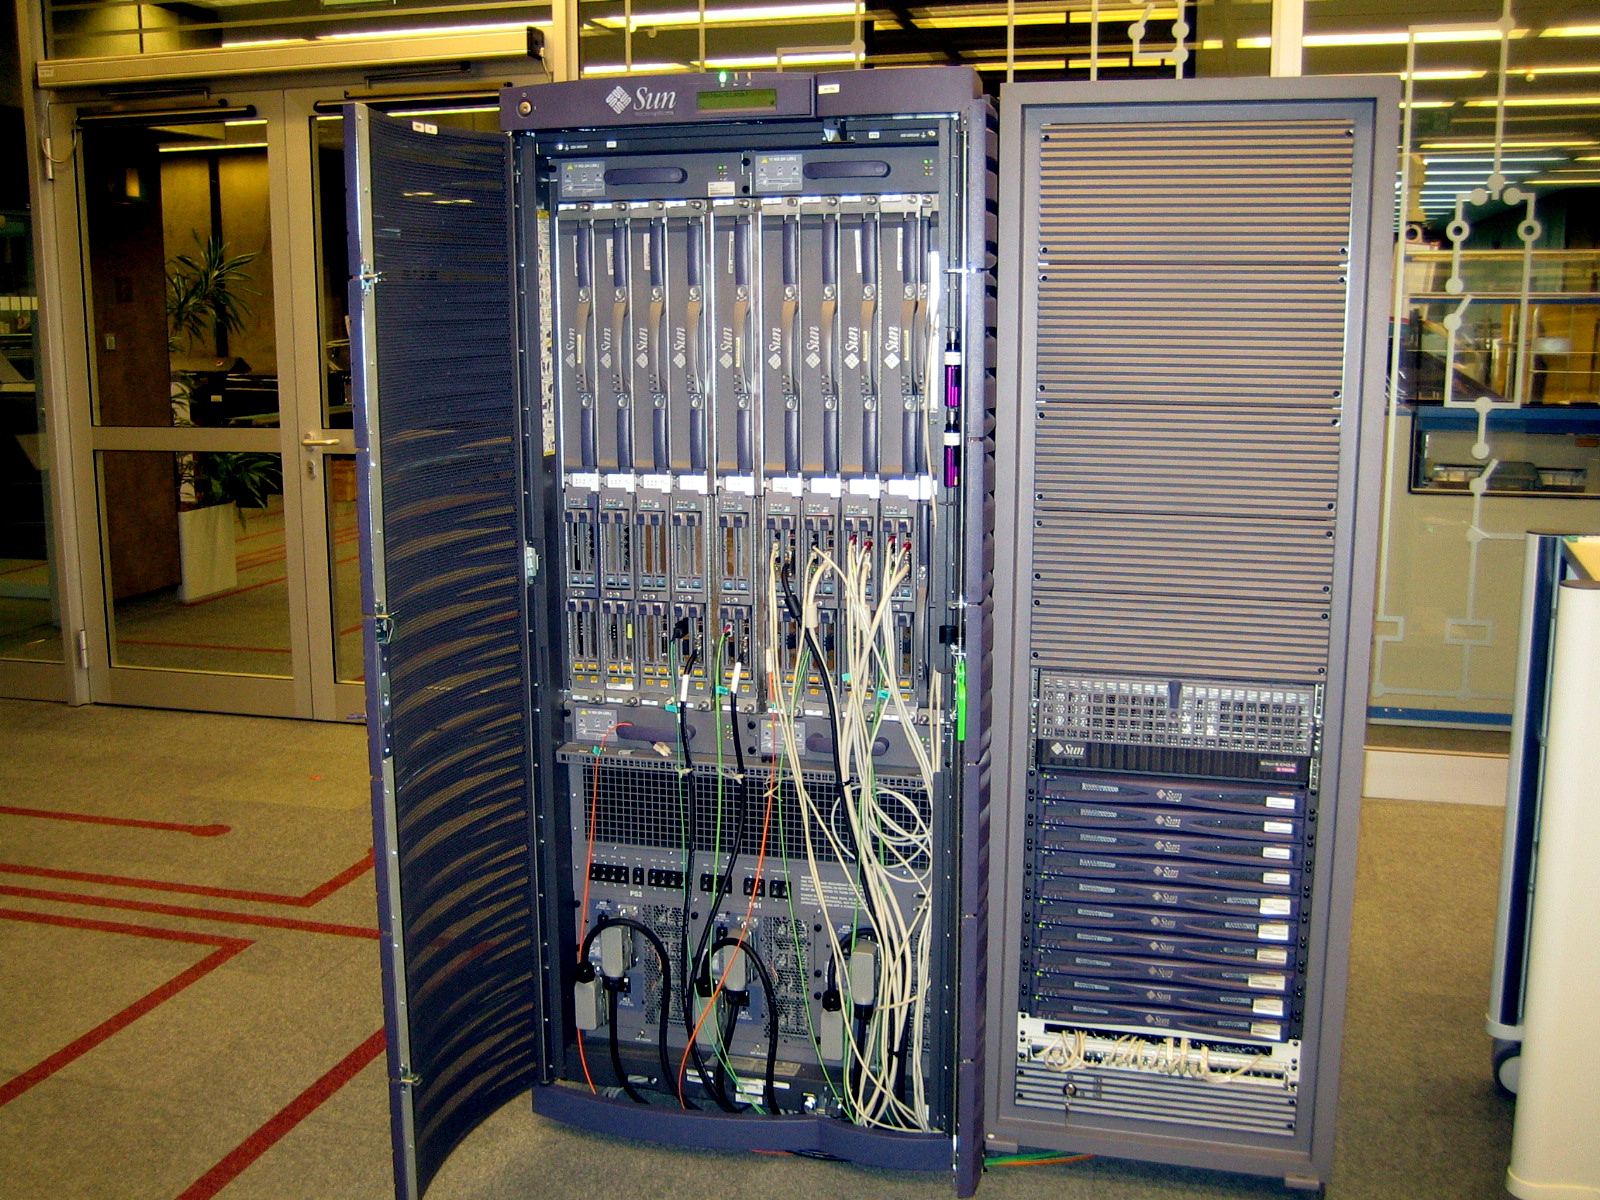
Aus meiner Zeit bei Sun Microsystems stammen diese Bilder. Das System wurde vor Ort bei einem Kunden von einem Techniker und mir repariert. Fehlerbild war ein IBIST Interconnect Build In Self Test Error. Der Grund war ein verbogener PIN auf der Centerplane. Das ganze System musste damals ausgeräumt, d.h. alle Boards auf der Vorderseite und Rückseite raus.
Die Aktion fand 2006 statt.
SF15K Front
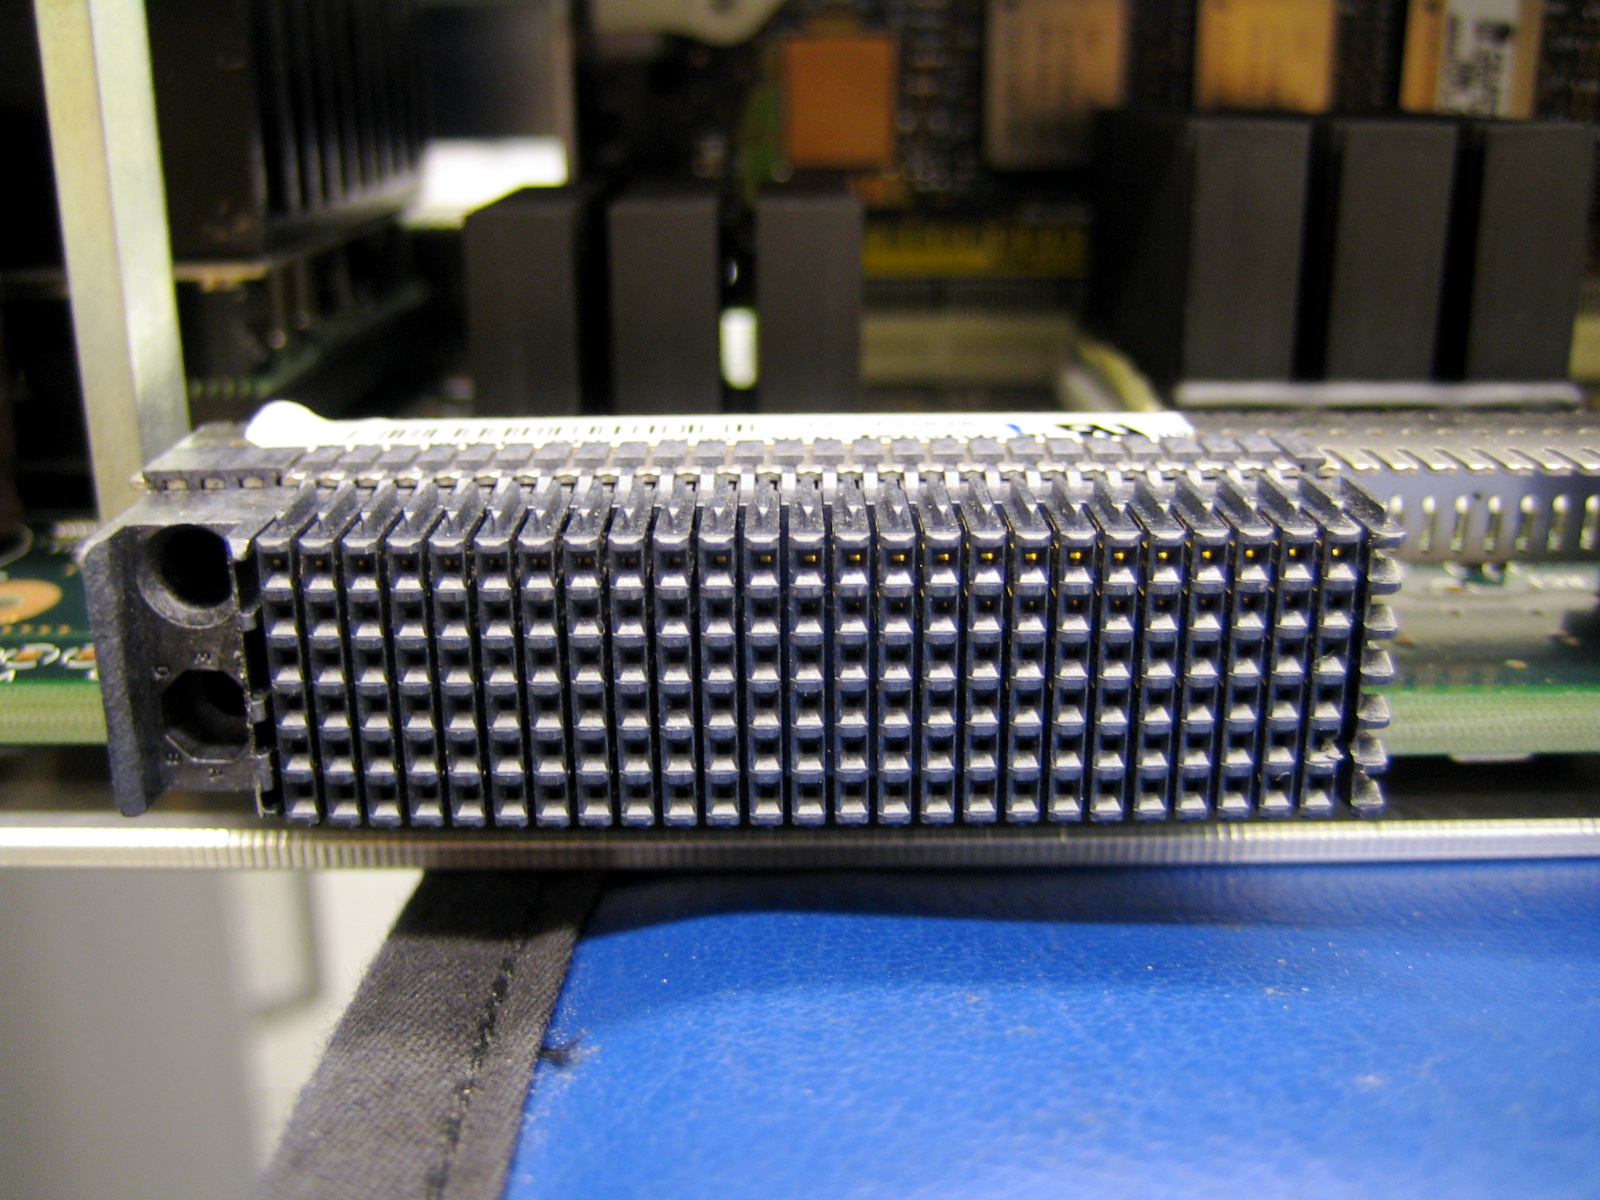
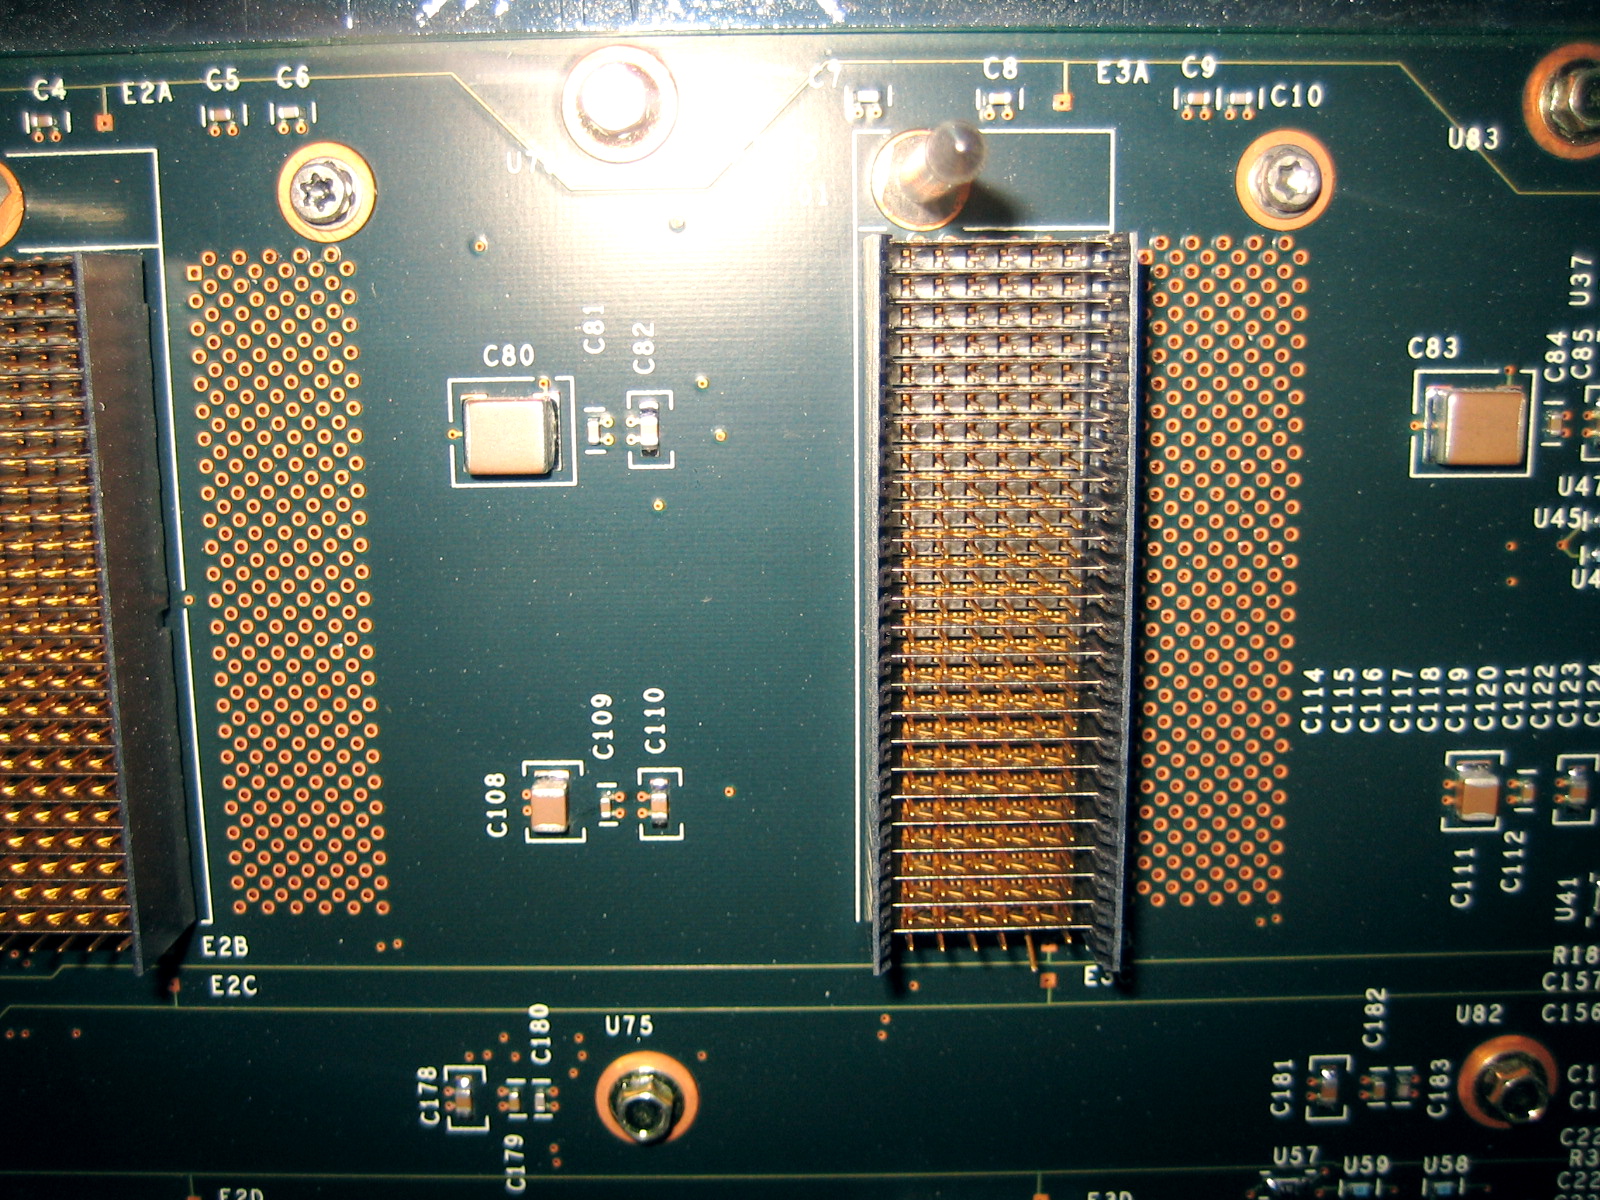
Connector
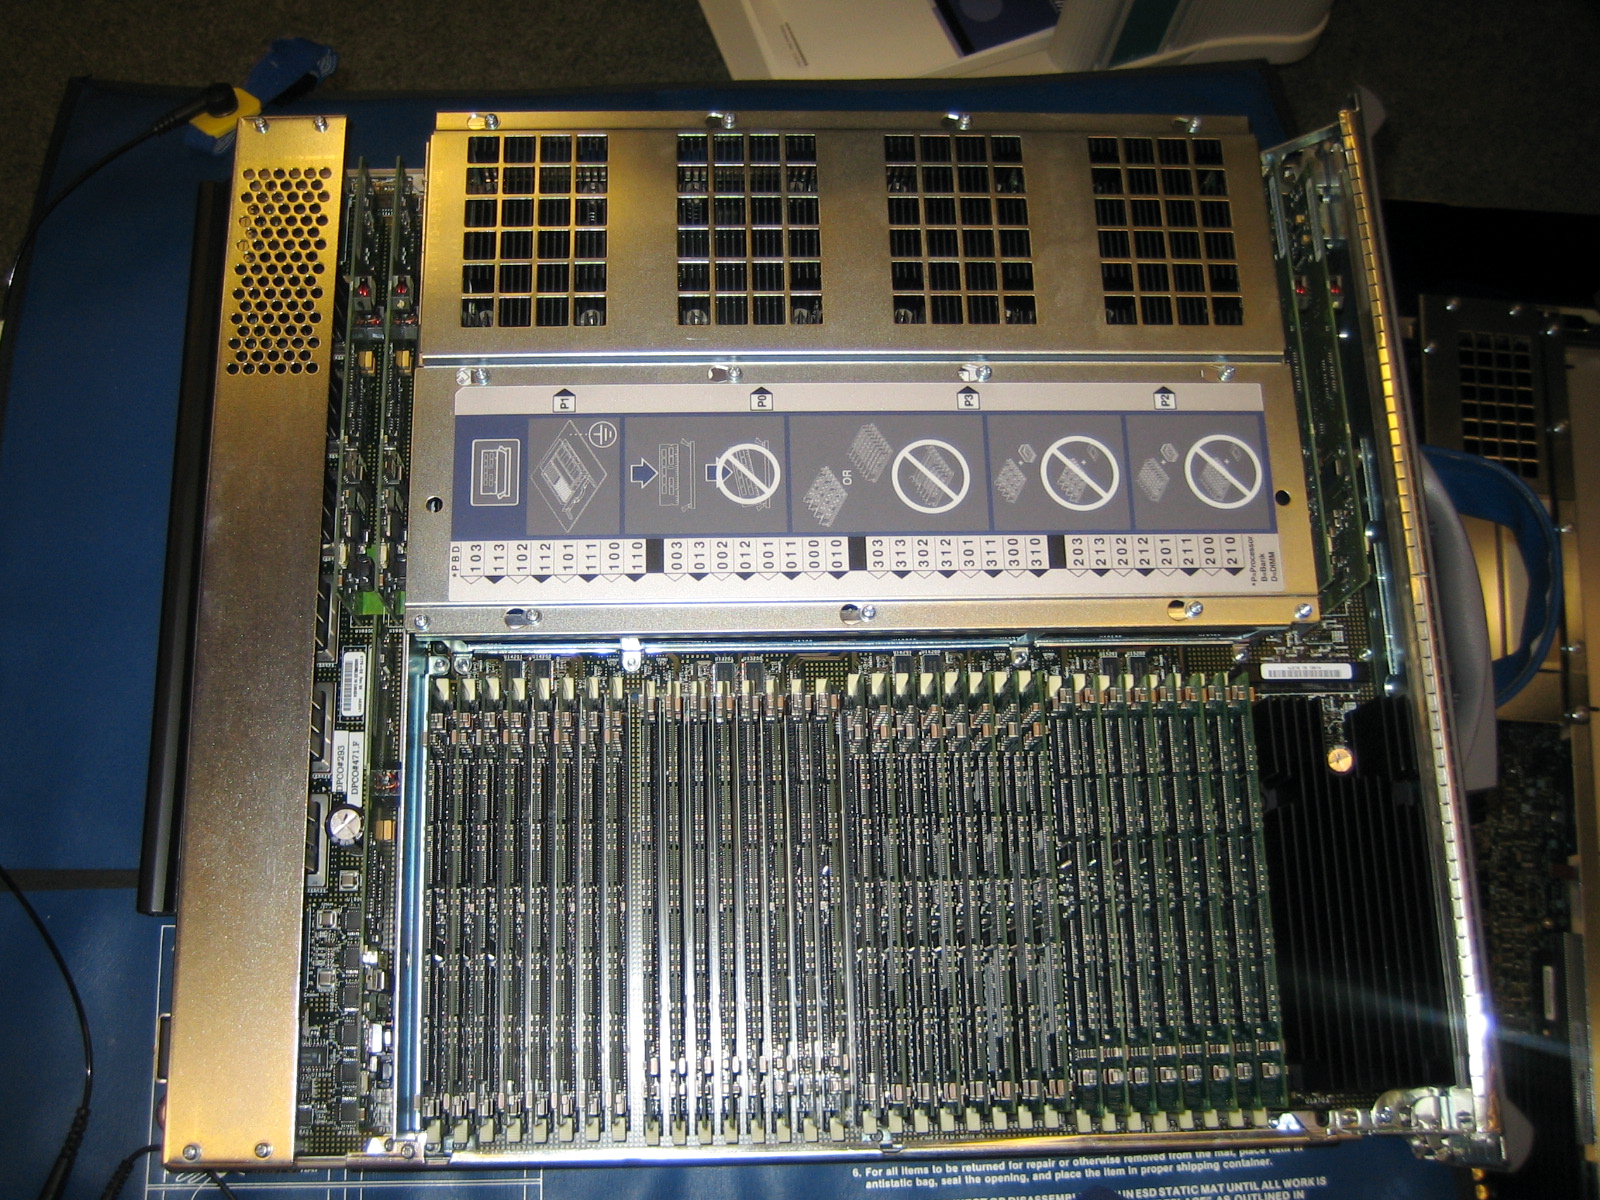
Systemboard CPU und Memory
Front, oben Systemboards, Mitte IO Boards, dann Stromversorgung Netzteile etc.
Centerplane, mit dem verbogenen Pin, mittlerer Connector letzte Reihe, 5 Pin von links
Ersatzteile für den Fall ...
Noch einmal die Centerplane
Systemcontroller

Centerplane Ersatzteil
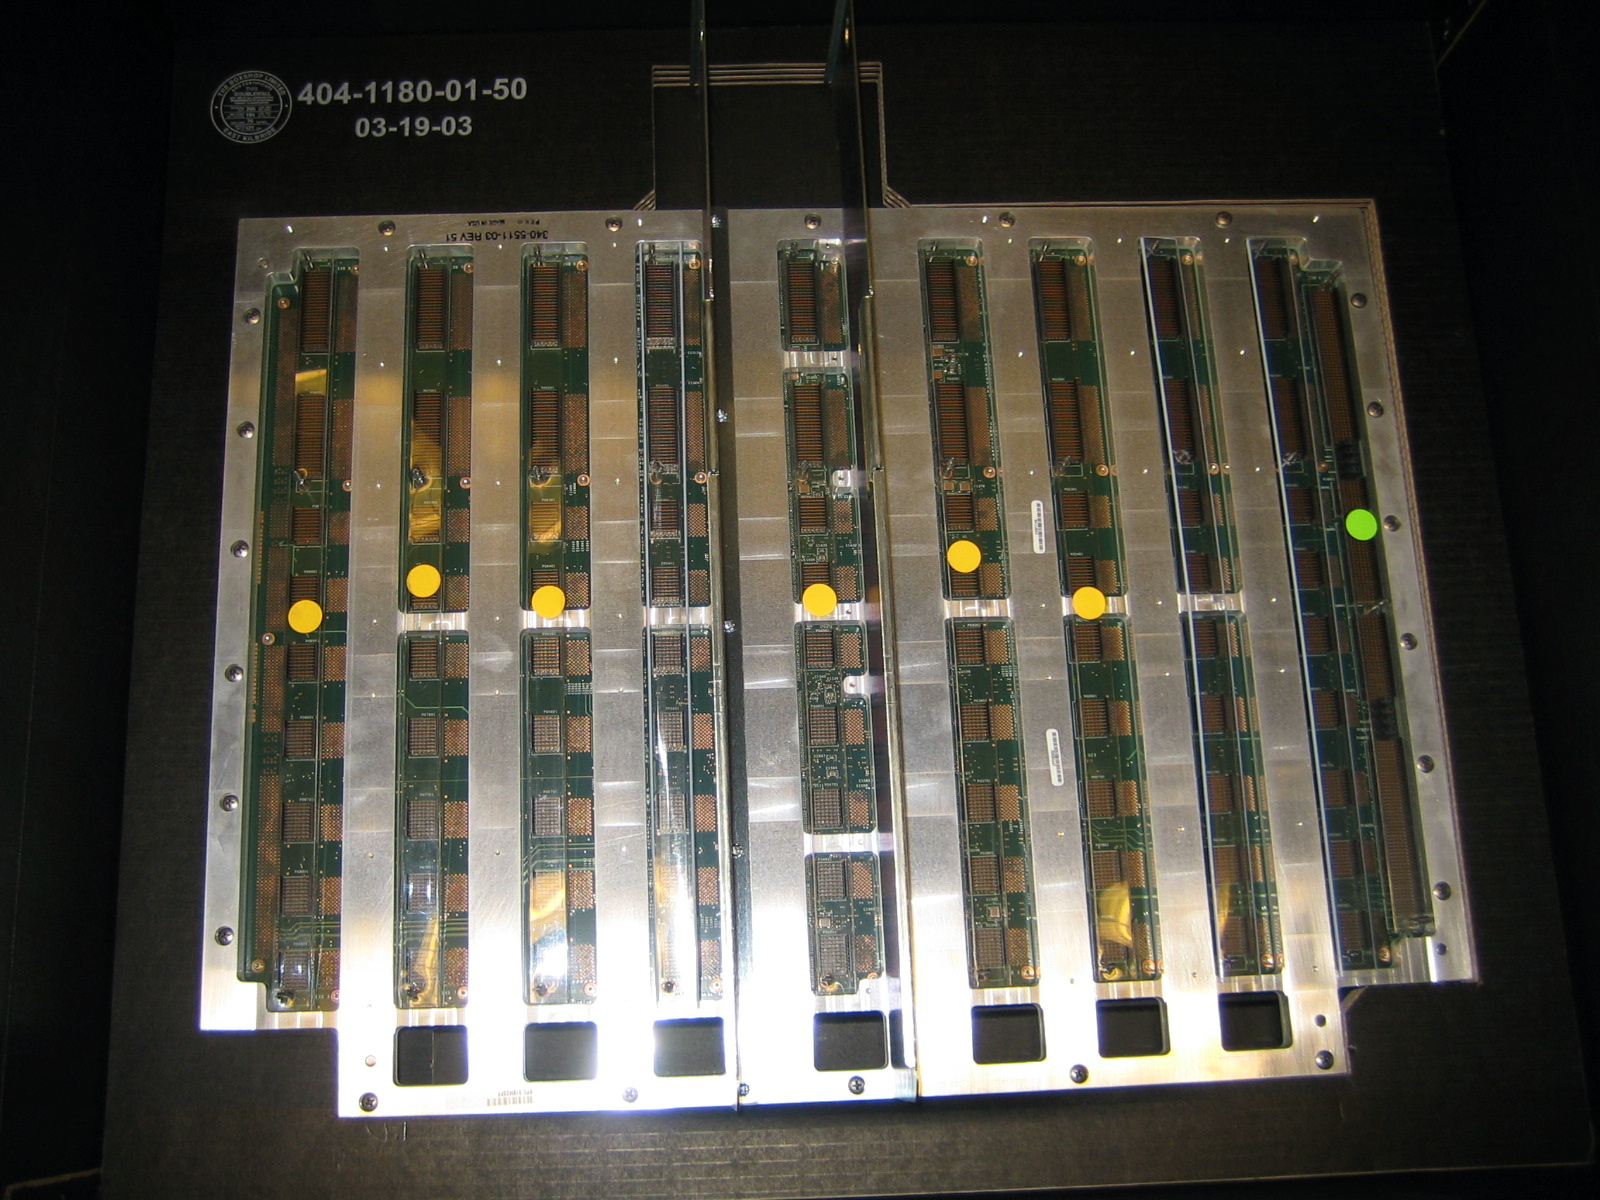
Gut zu erkennen die ASICs
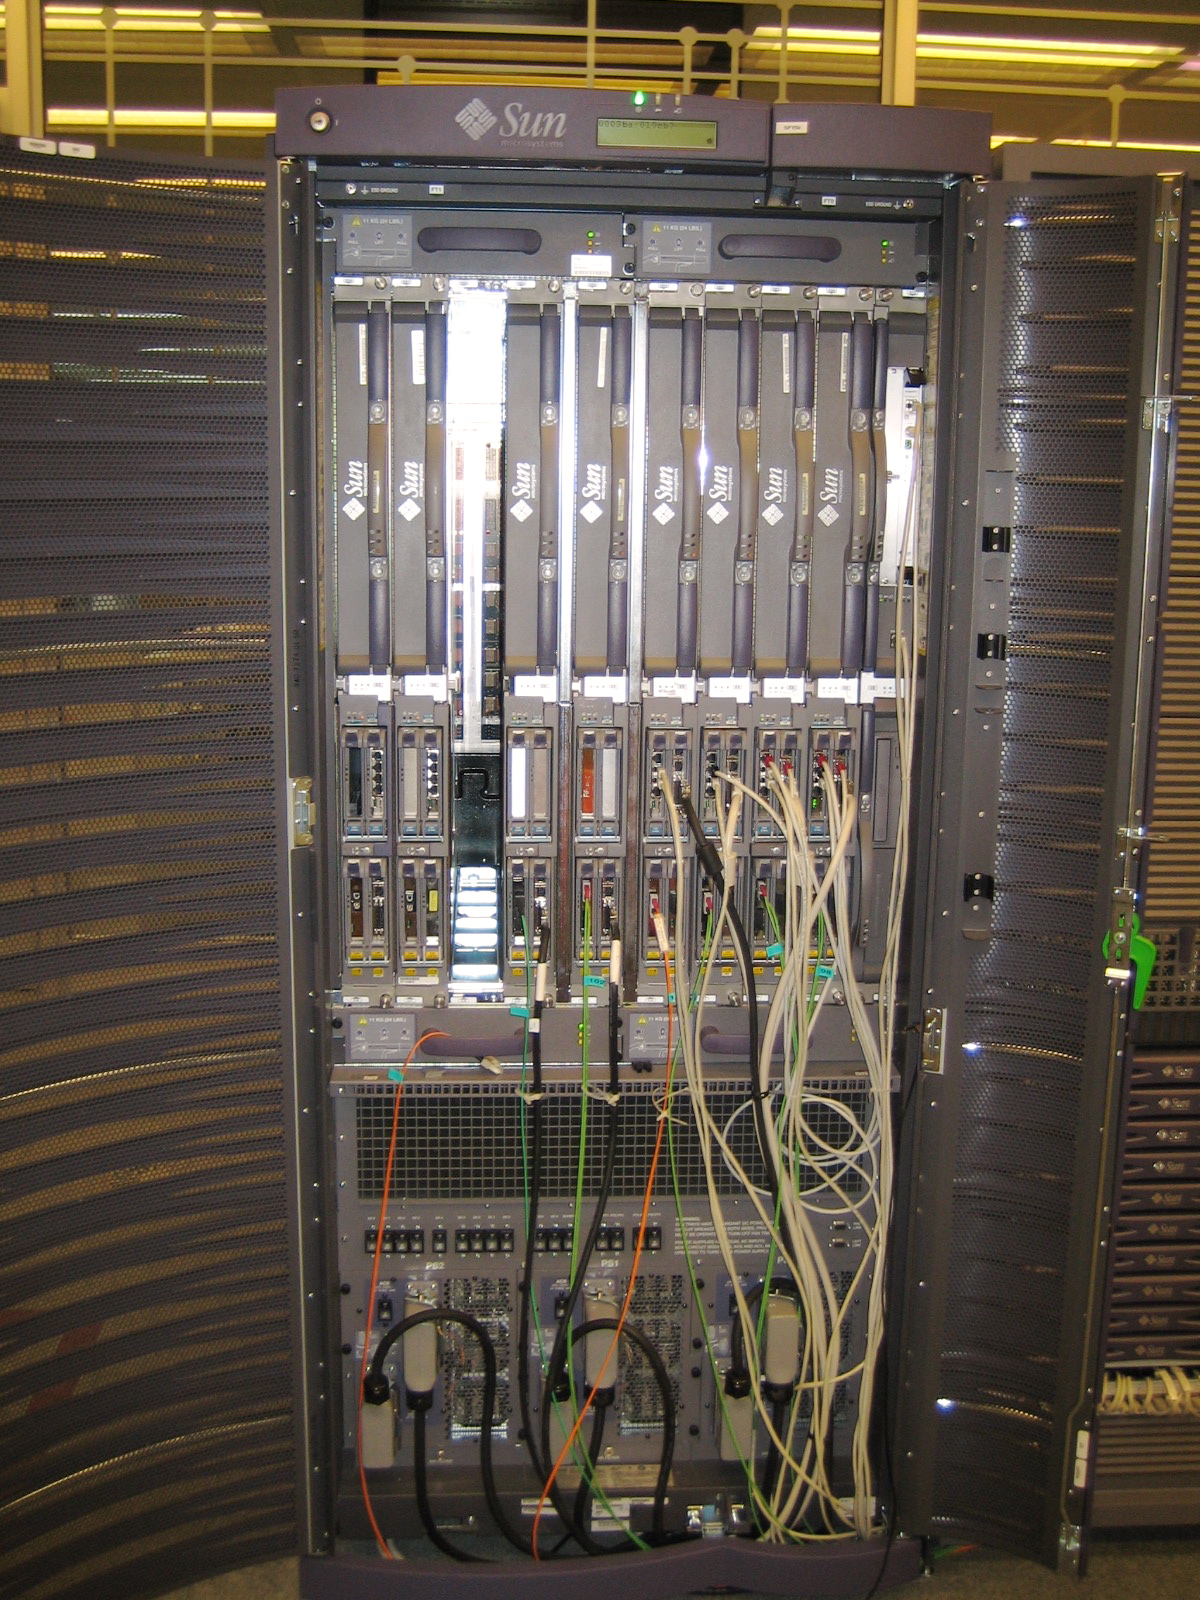
SF15K mit Storage
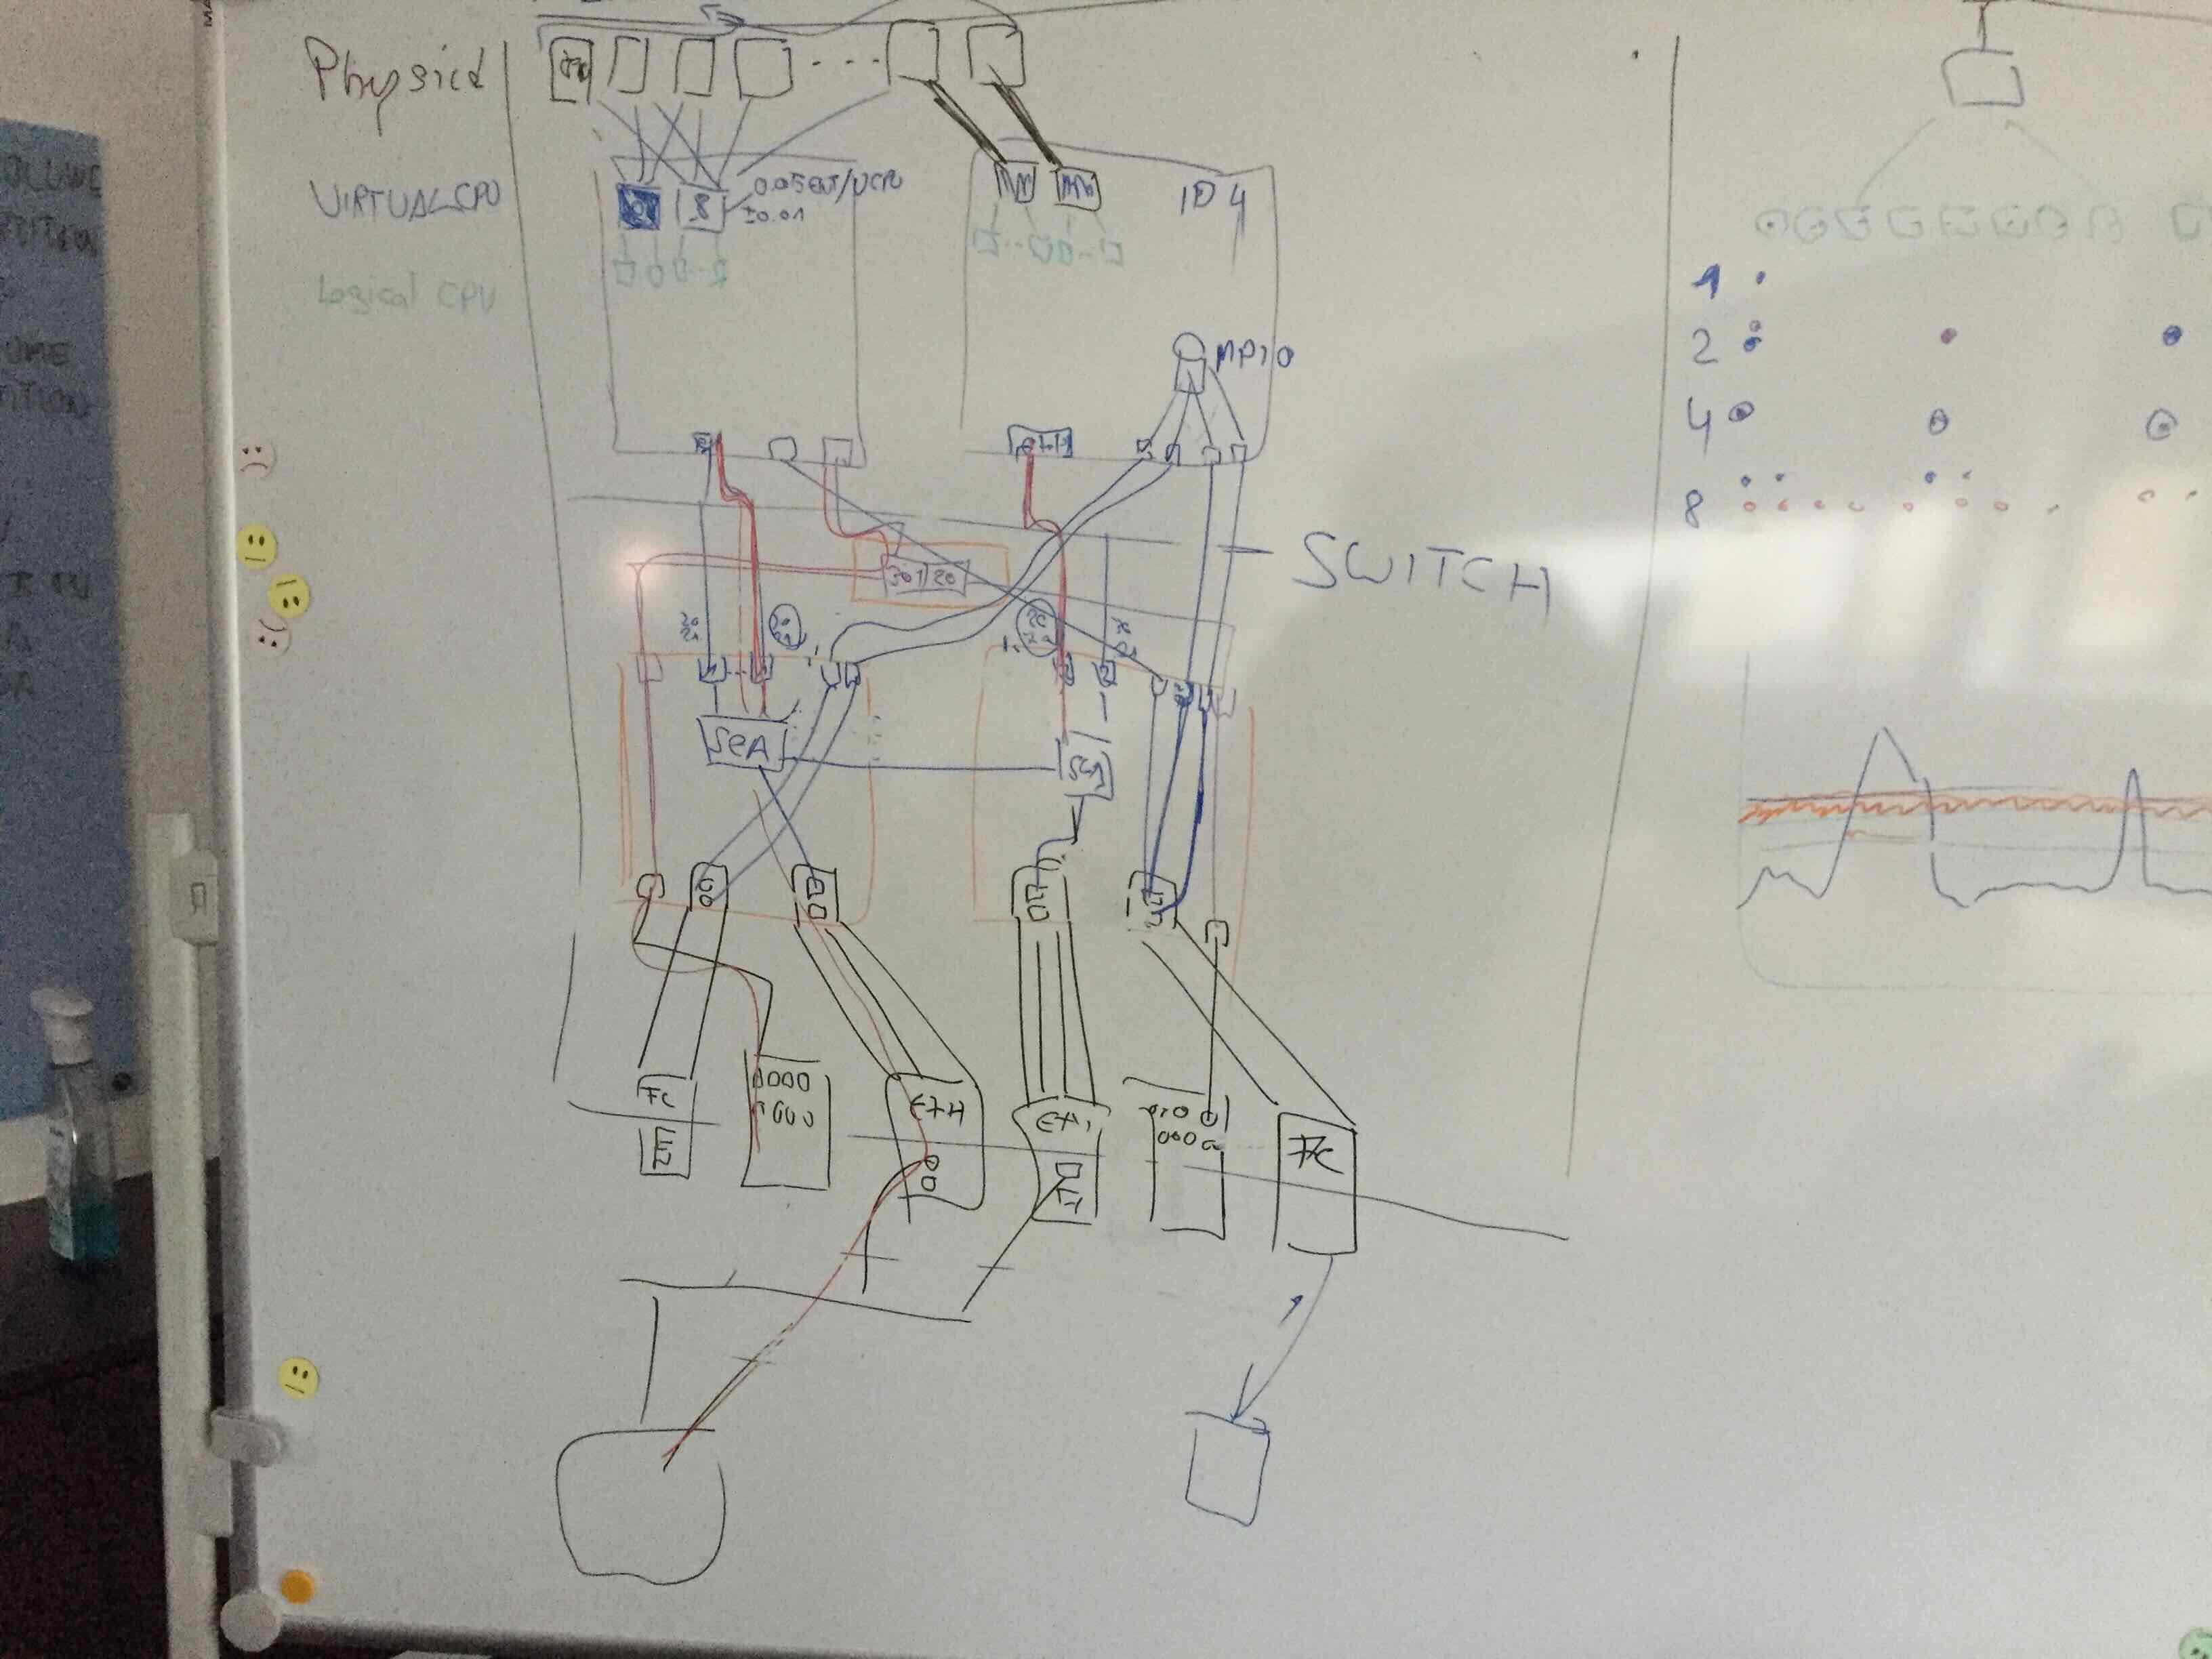
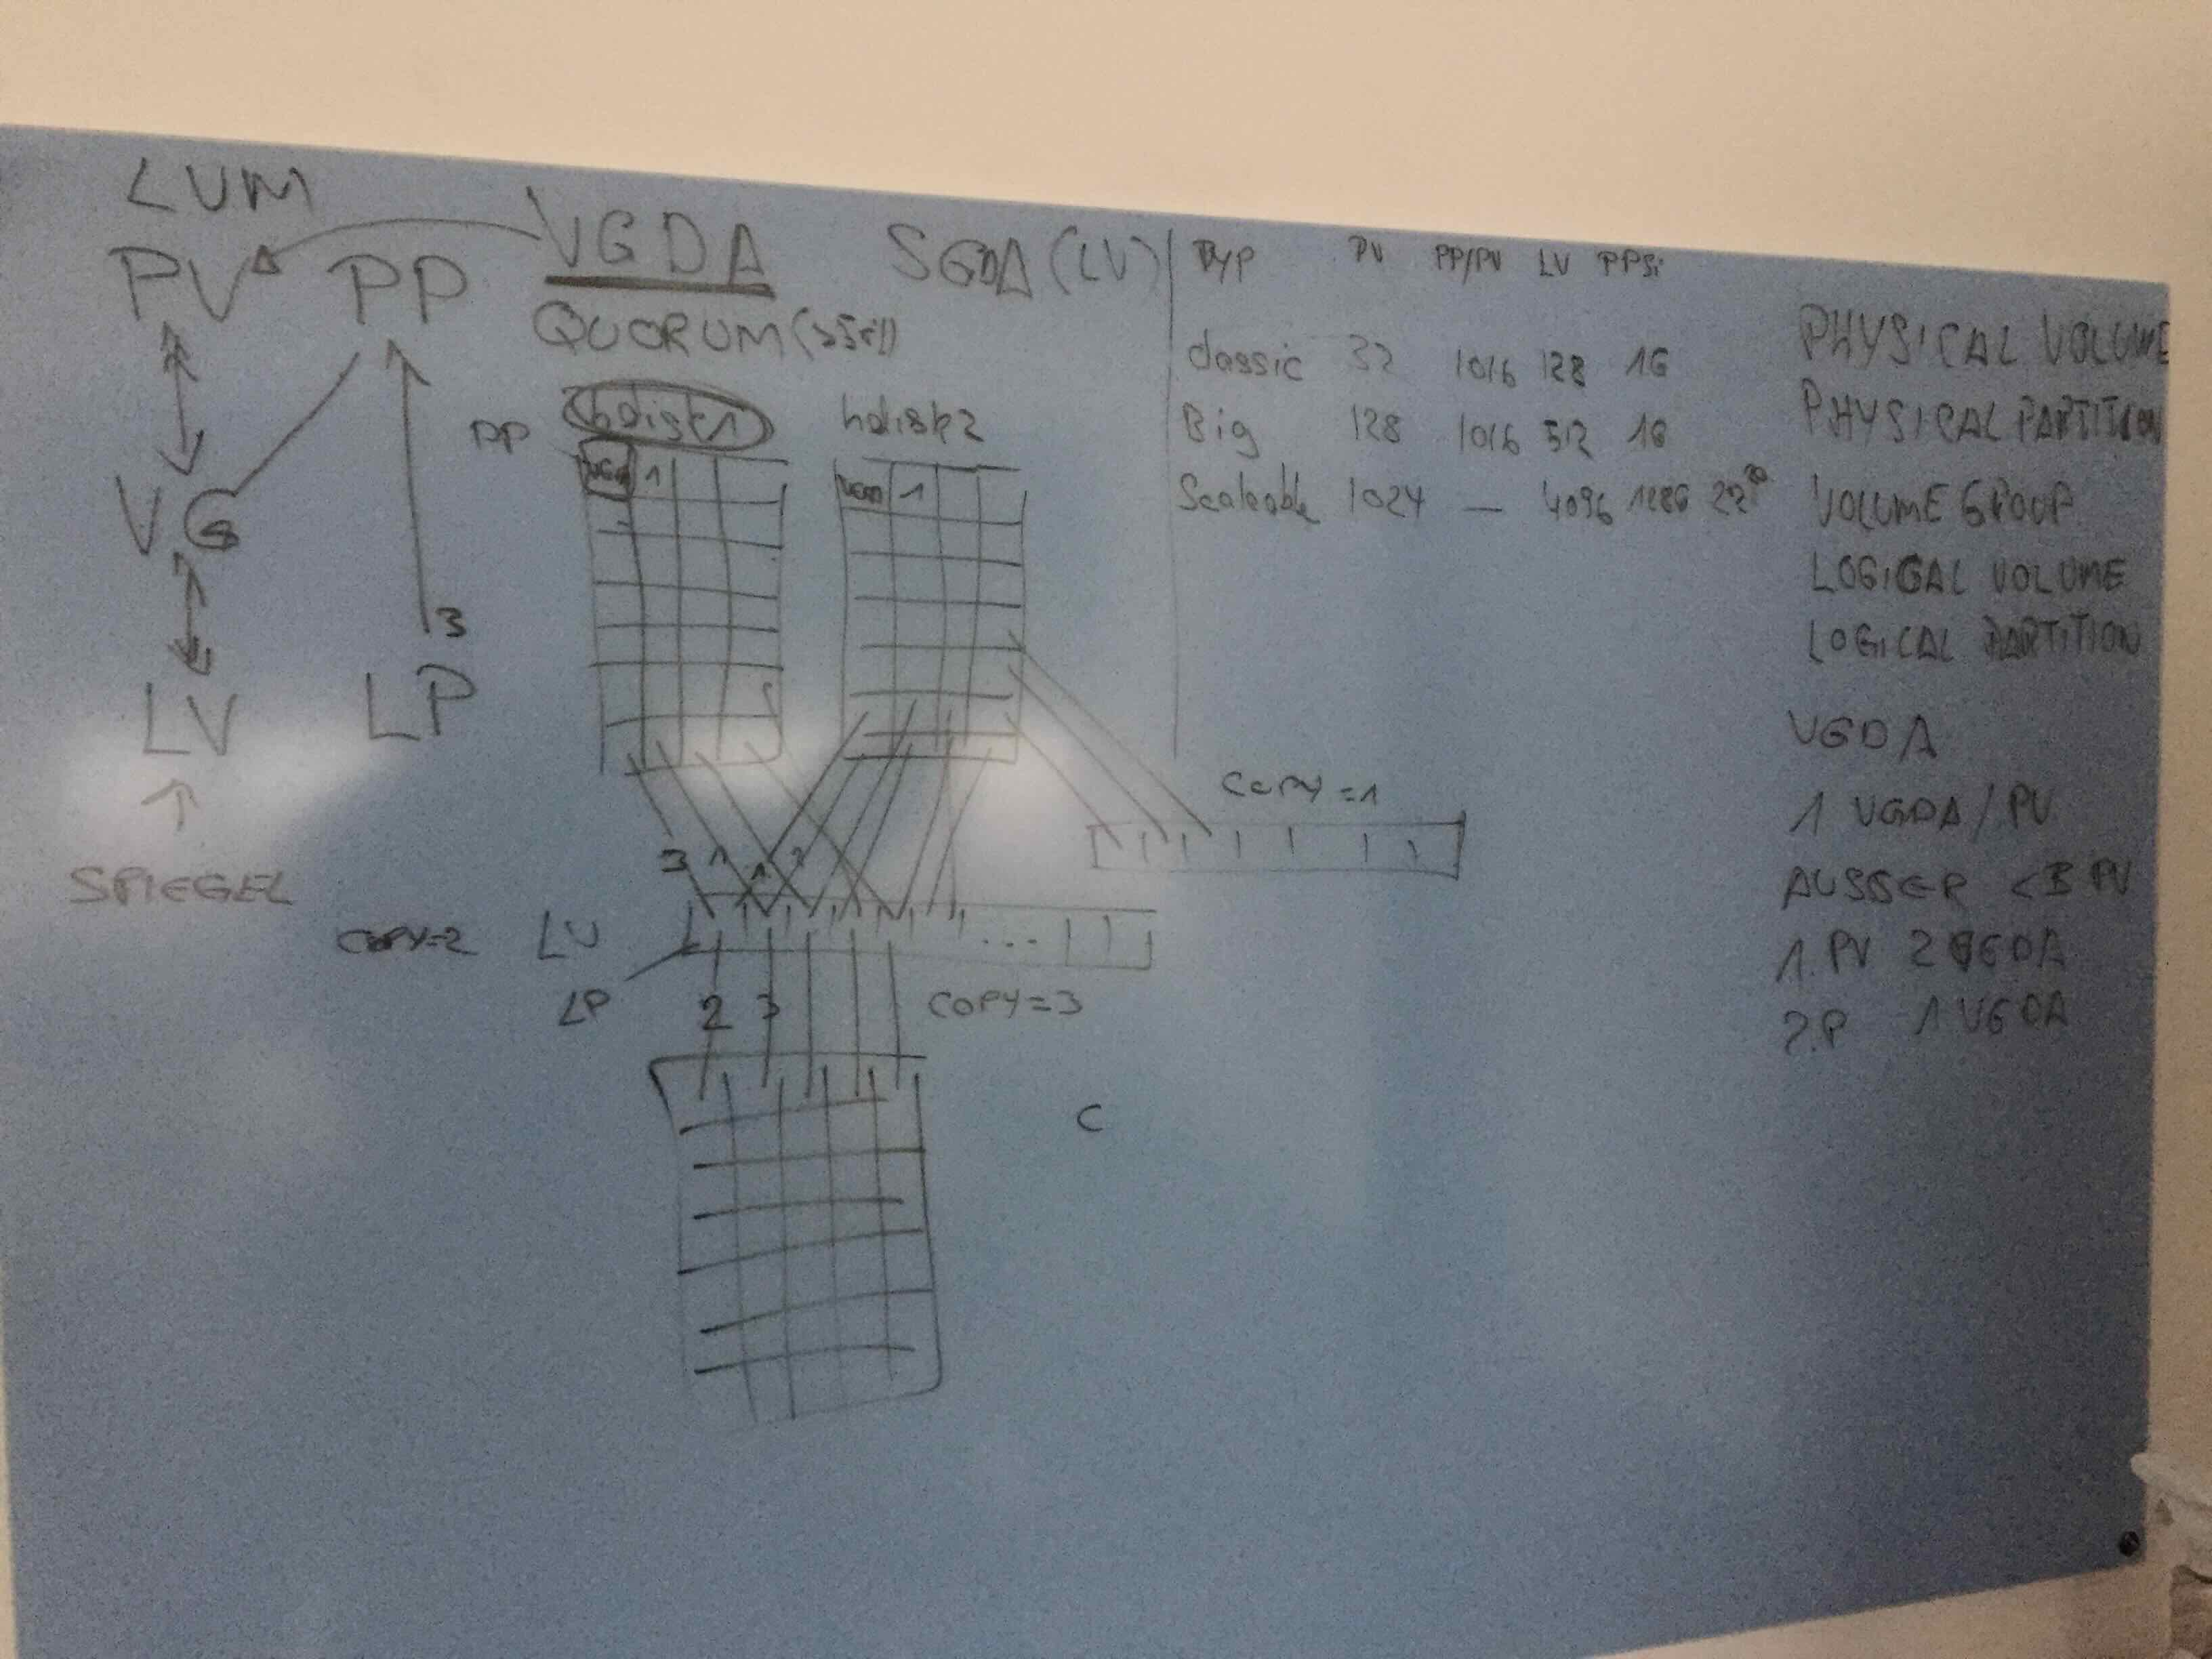
AIX Schulung
Februar 19, 2024 Lesezeit: ~1 Minute
2 Tage AIX Intensivschulung, so richtig schön mit Zeichnungen. Hat richtig Spaß gemacht.
Ja, wir konnten etwas erkennen ;-)